Last year (2022) I decided I wanted something that would motivate me to get outside a bit more since being cooped up in my house was starting to grate on me mentally.
After a lot of thought I came to the conclusion that side by side would be a good idea, where I live there are a lot of options for trail riding and I've always really like off-road vehicles like motorcycles and ATV's growing up. Unfortunately motorcycles are really only fun if you have friends that also ride and its basically the same with ATV's as well.
I wanted something that I could easily enjoy either by myself or also with a friend, however having a friend riding backsies on a motorcyle or ATV really isn't fun. That is why I decided on buying a side by side.
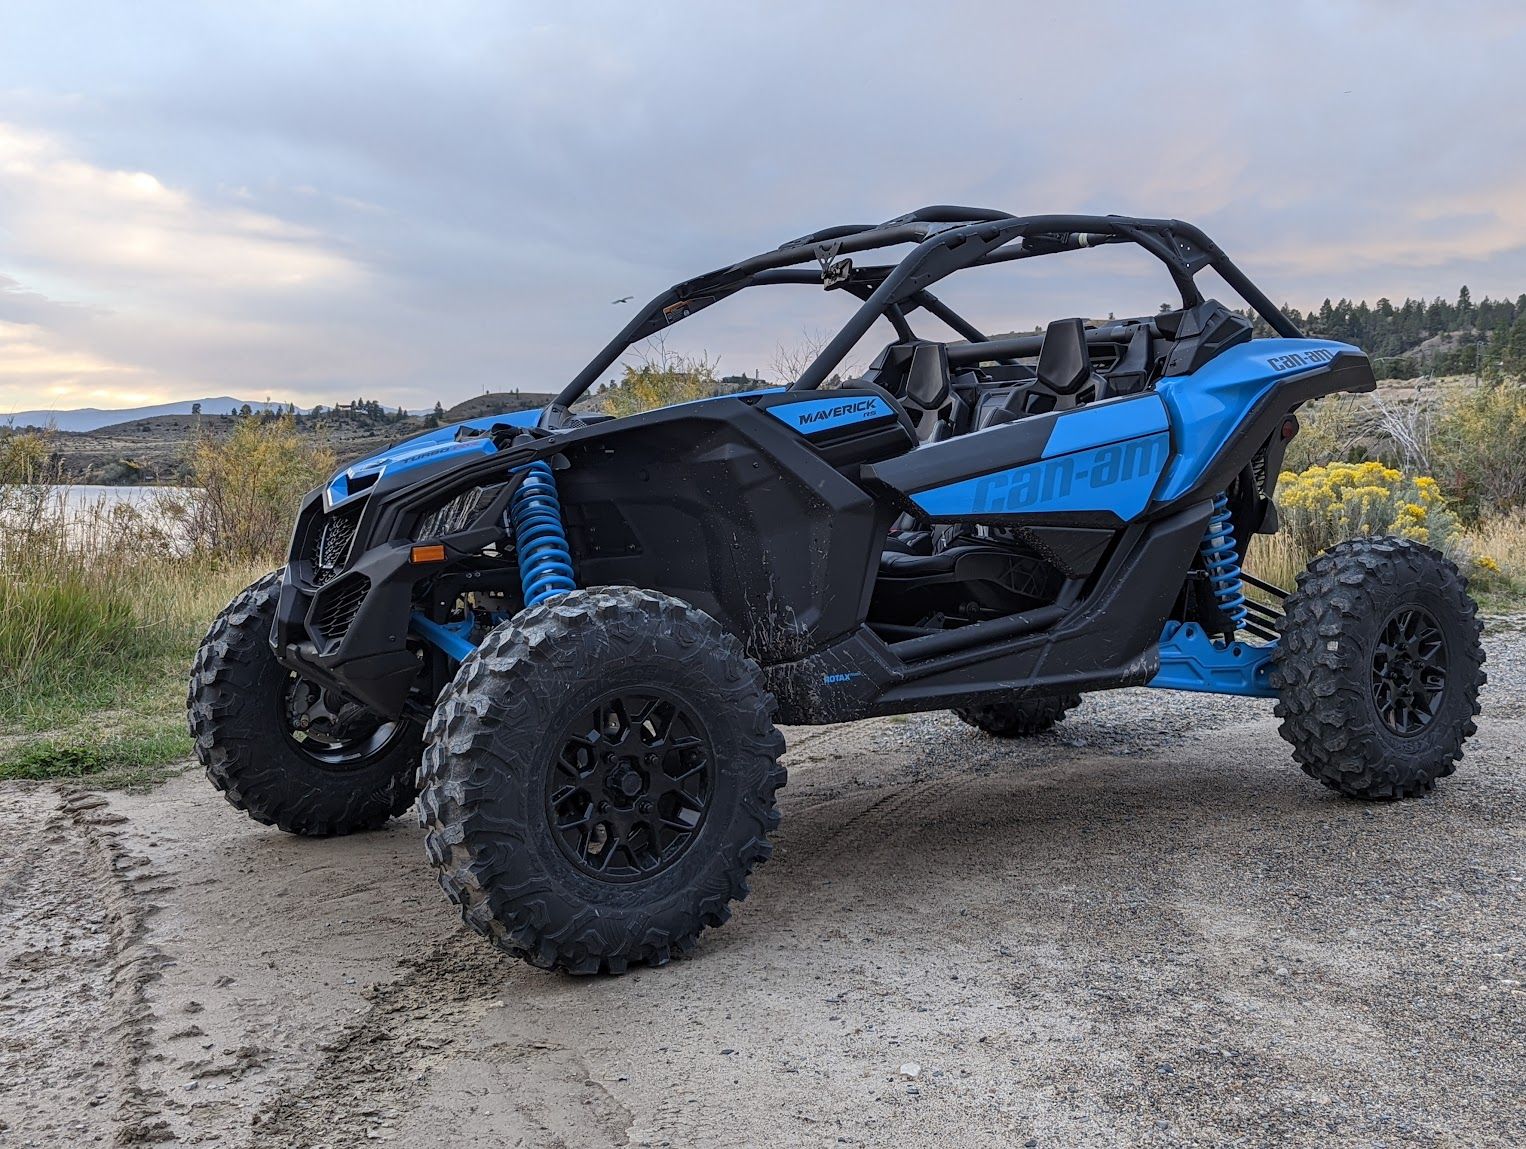
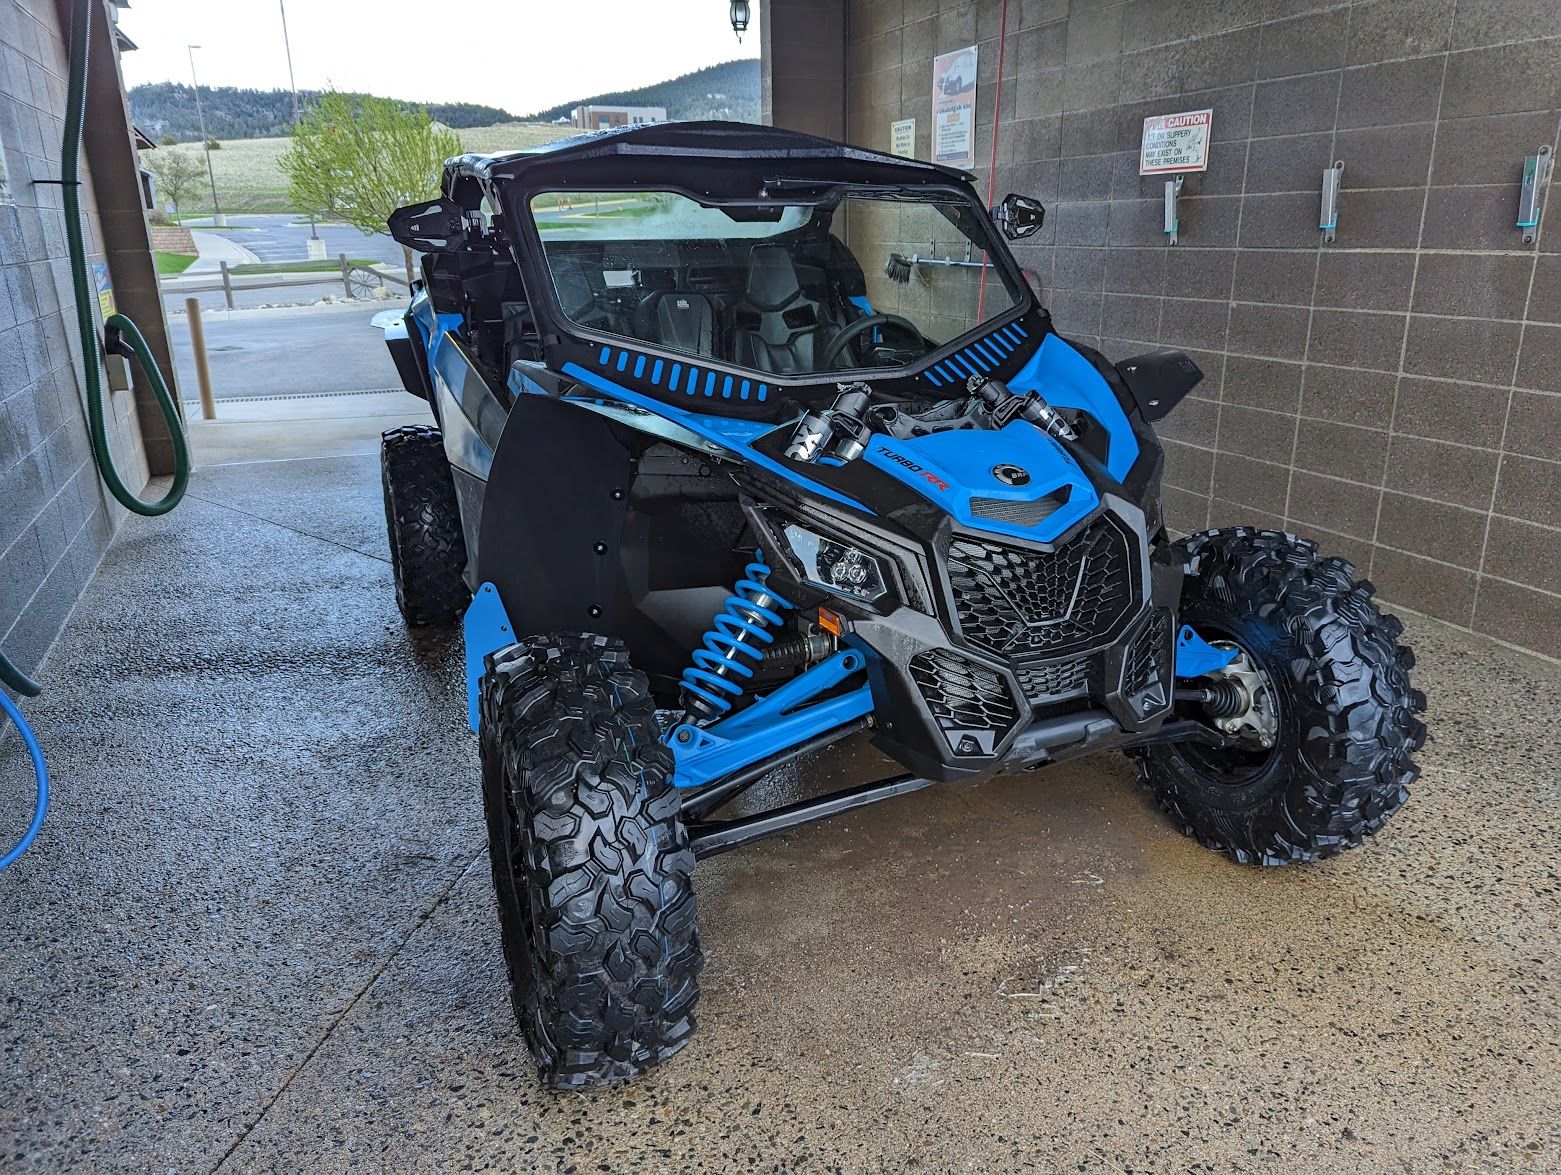
The Maverick X3
72" Turbo RR (200HP)
After doing a ton of research and watch many YouTube videos I decided that if I was going to own a side by side I was going to go all out and own something that I likely wouldn't get bored with and can have a friend ride along with me.
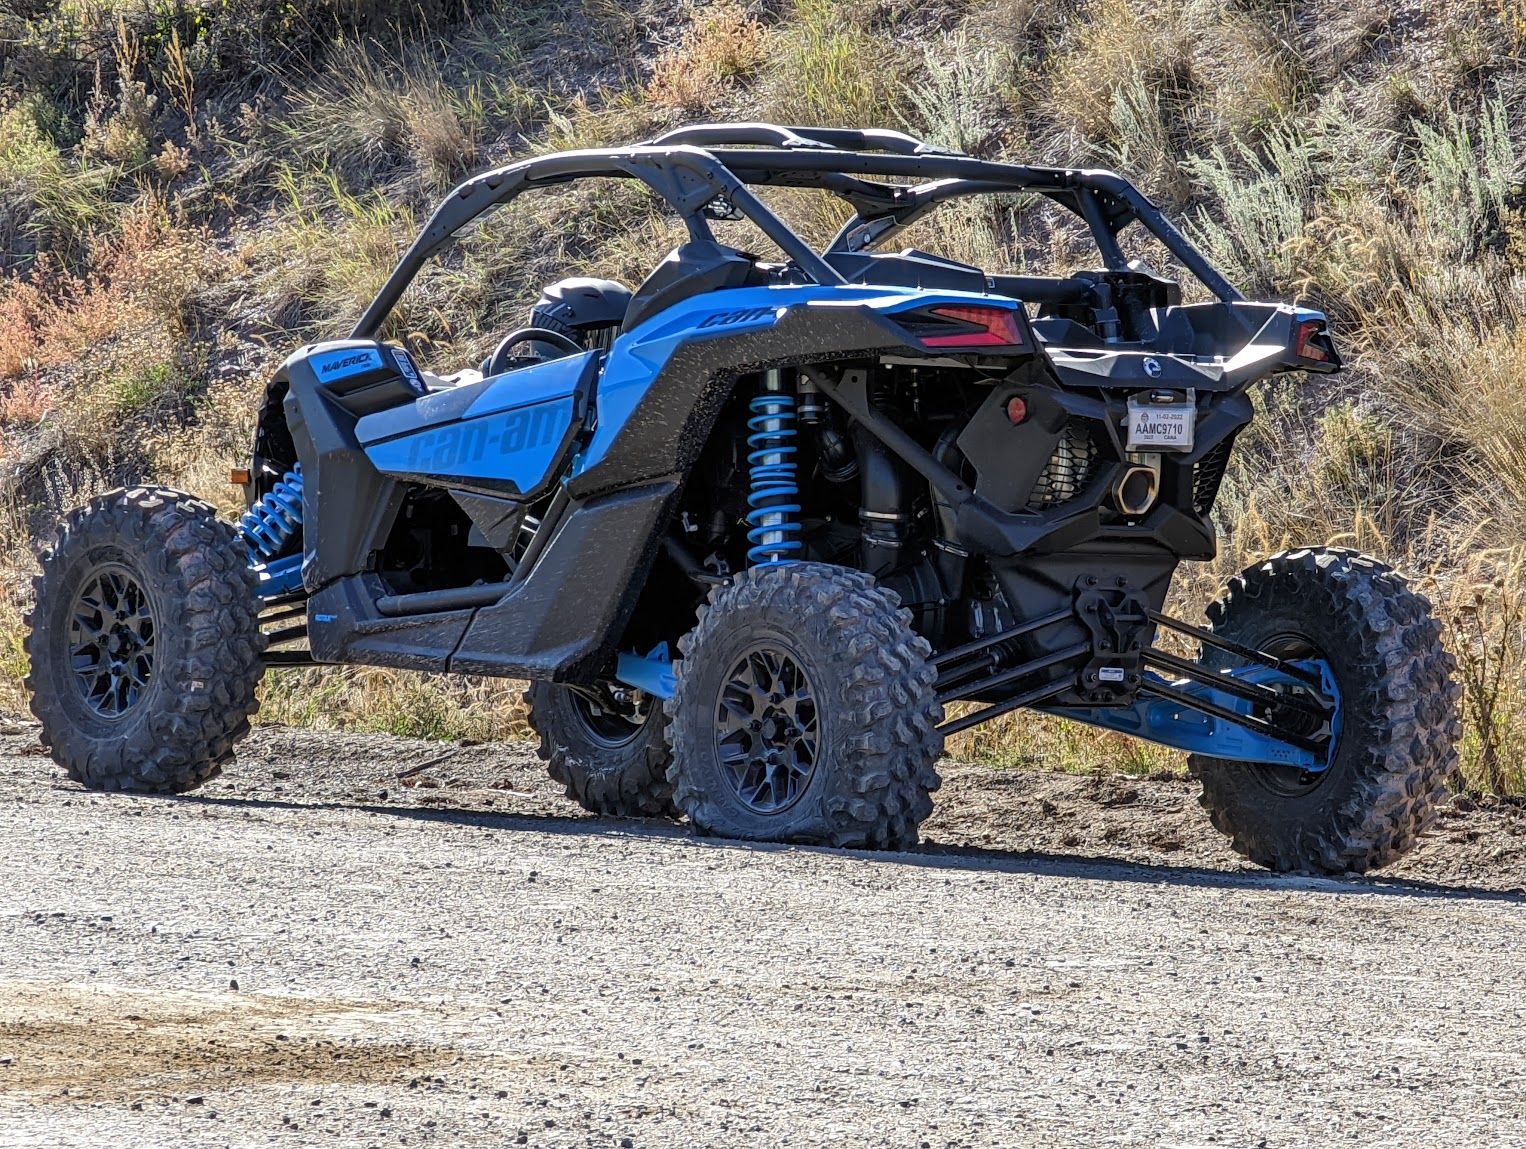
The Maverick X3 ticked all the boxes. They come in either 2 or 4 seat options. 64" or 72" widths and a 200HP Rotax 900cc Turbocharged Triple-cylinder liquid cooled engine.
I decided on the 2 seater 72" wide option. Since 90% of the time I'm only ever going to have 1 other passenger and the 72" being a bit wider means that it would be that much more stable and I knew I was going to want to have some fun with it.
After a long search I finally found a dealership in Spokane that has a base model version of what I was looking for.
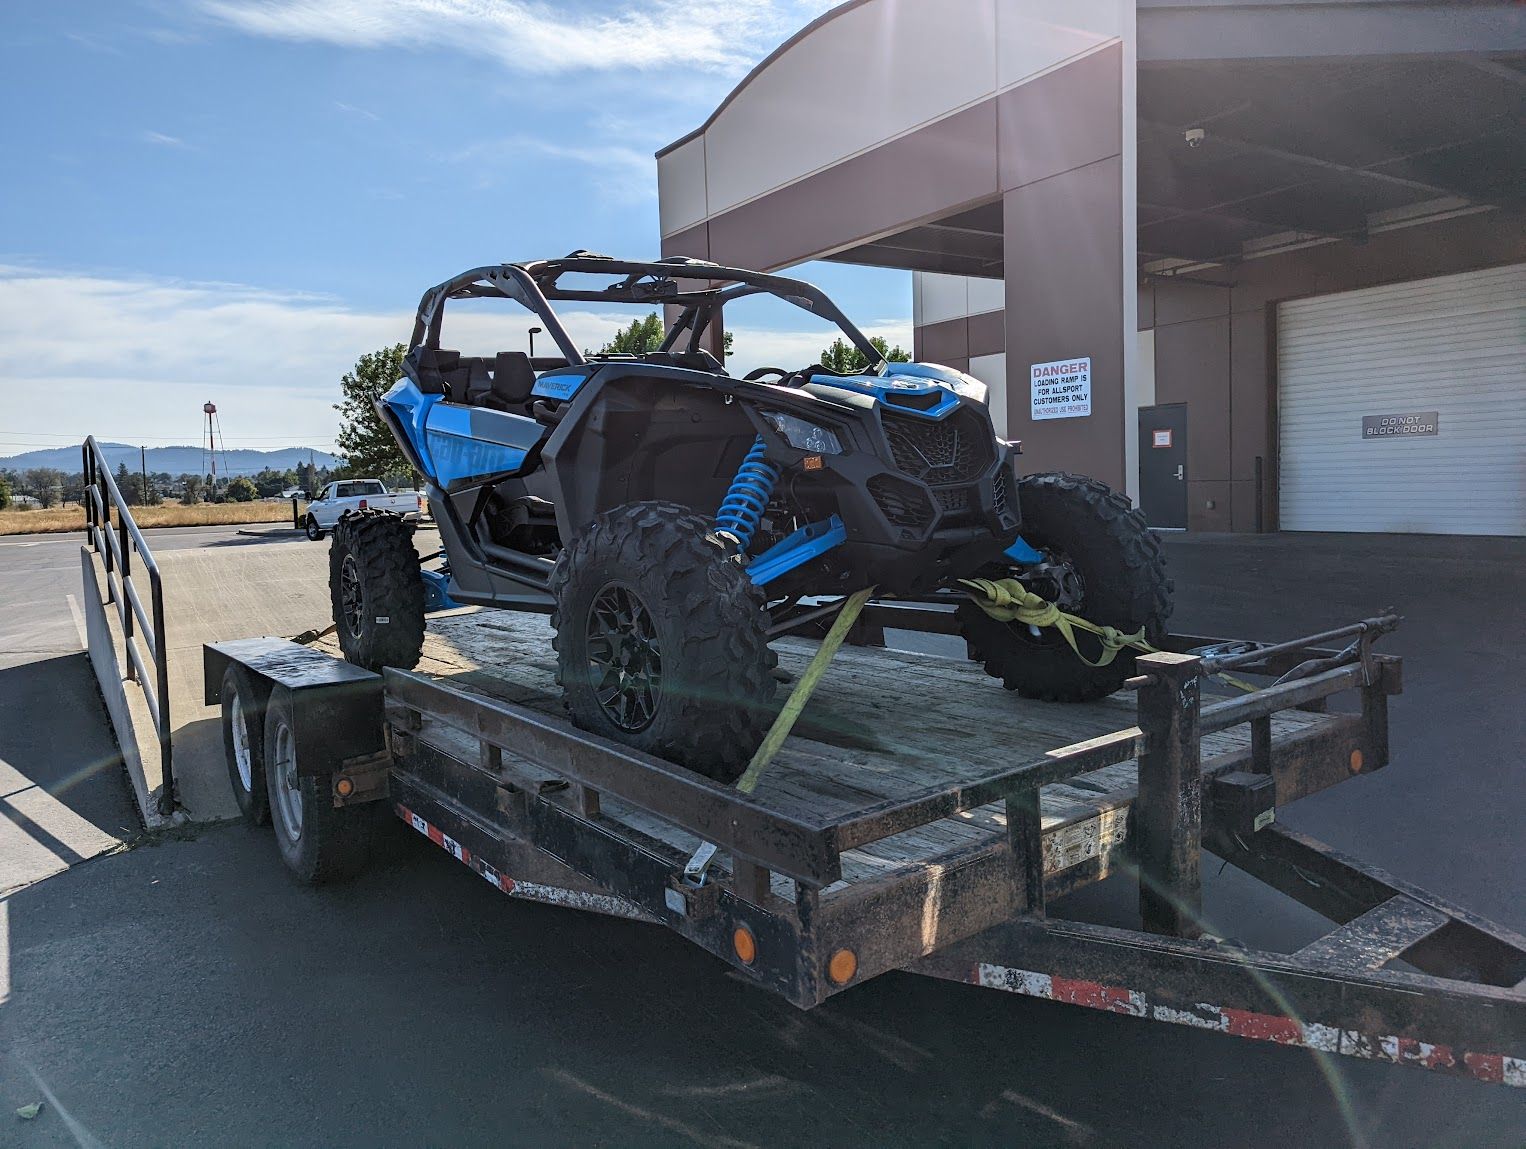
The base cost...
After everything was said and done the total cost of the loan for me to purchase this machine was $31,495. MSRP was somewhere around $26k but I added a $2500 comprehensive parts warranty and then you have various annoying dealer fees tacked on. Unfortunately it's just the way it is and because they are so insanely popular there really wasn't any room for me to bargain. If I didn't take it, somebody else would have within a day.
Keep in mind this is a base model. Which means it doesn't come with anything extra. No windshield, no lower doors, no roof, etc. If I want any of that I would need to purchase them myself down the line. Now, Can-Am does offer fancier models of this machine that do come with these extras as well as other options. But, those models cost even more reaching upwards $40k.
I figured, I would buy these additional upgrades as needed. If I felt like I needed a windshield, I would buy one for it.
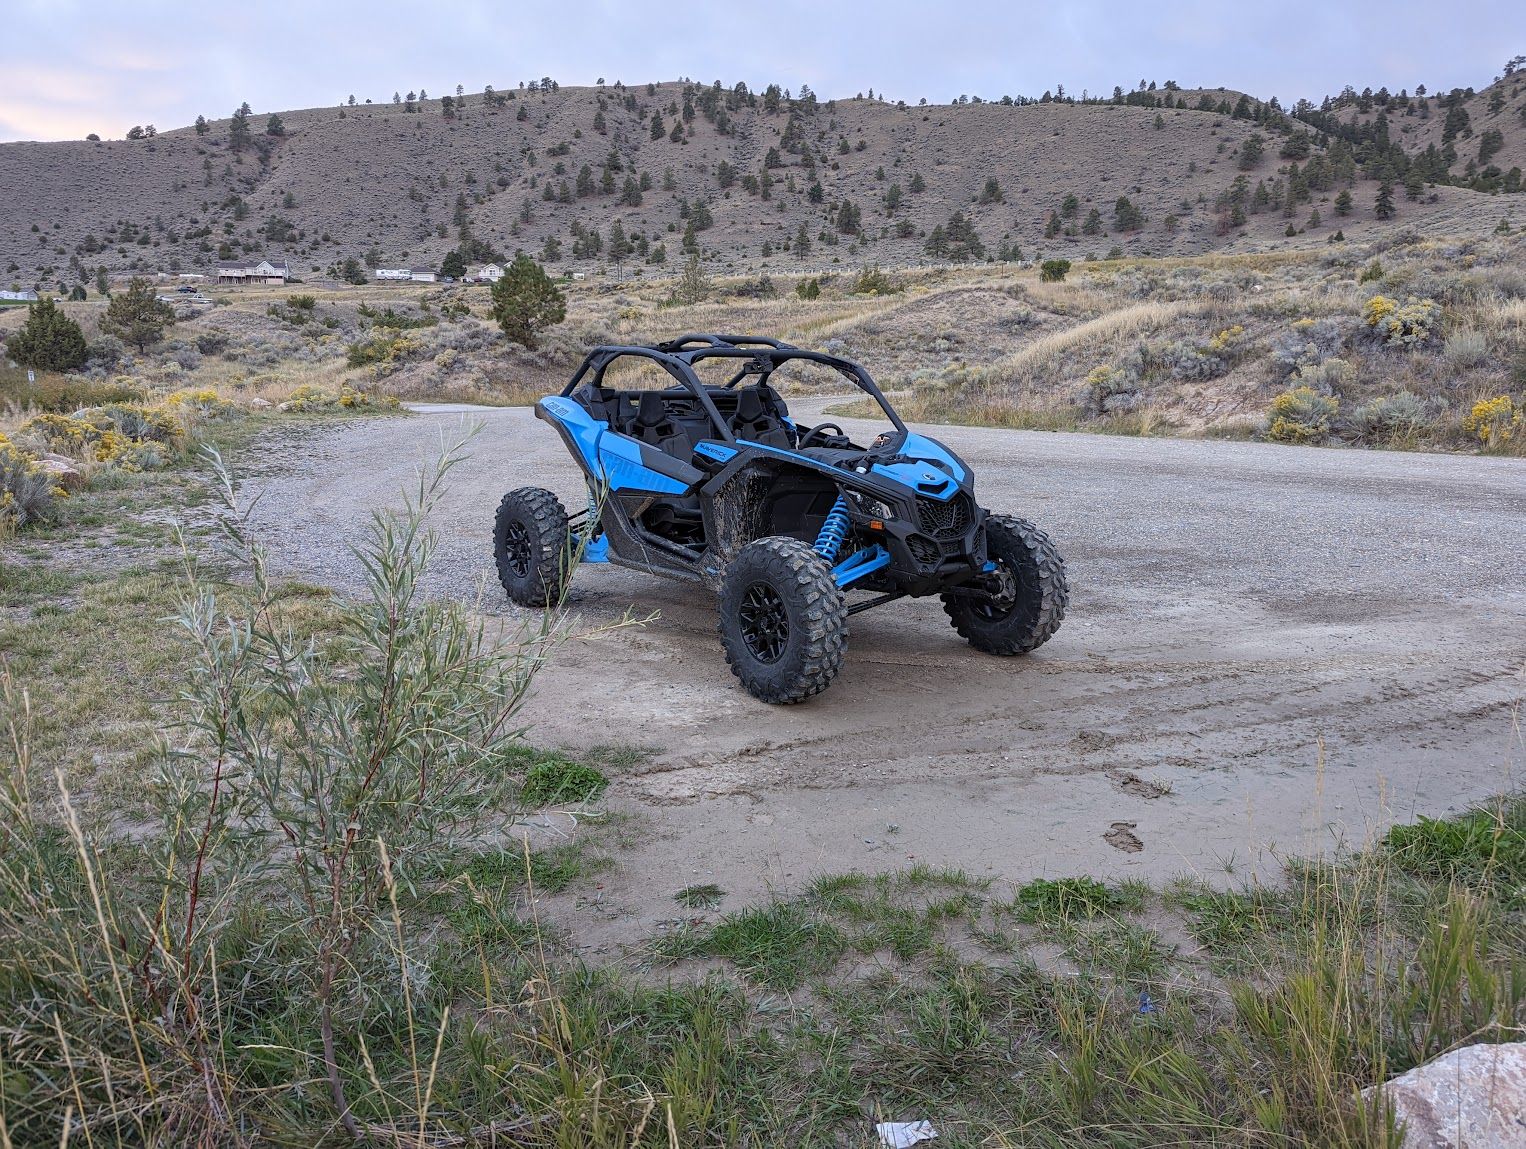
The First Couple Rides
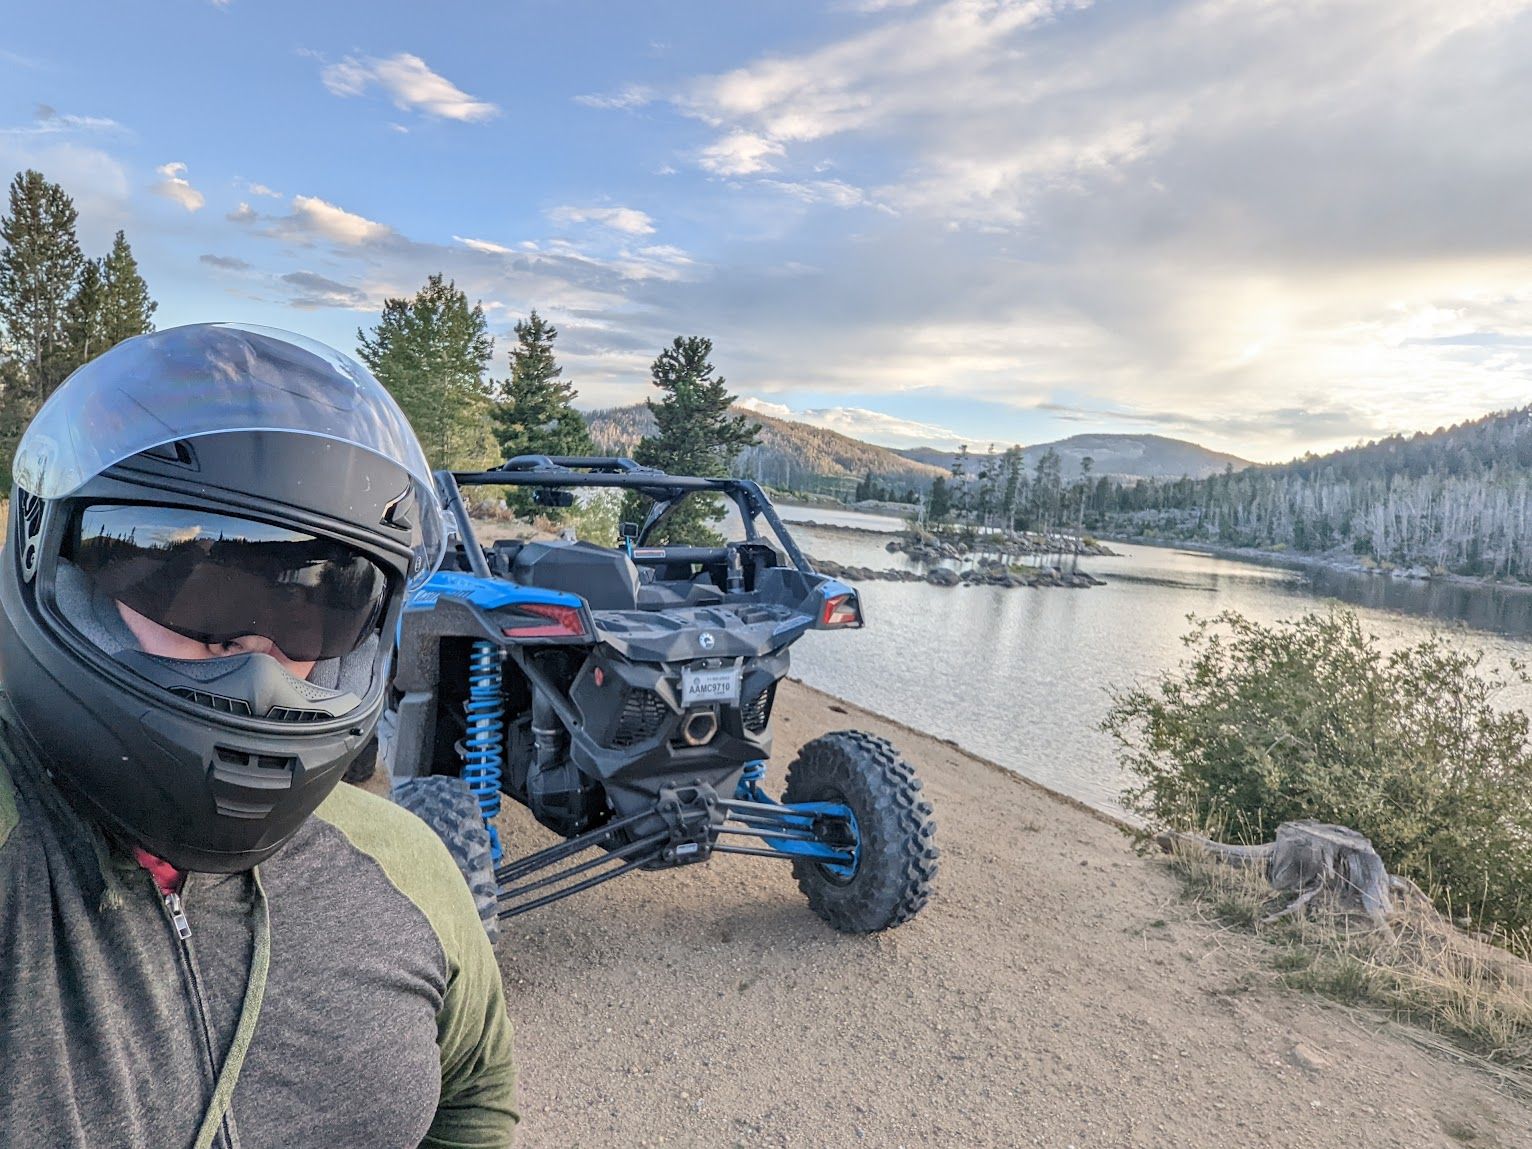
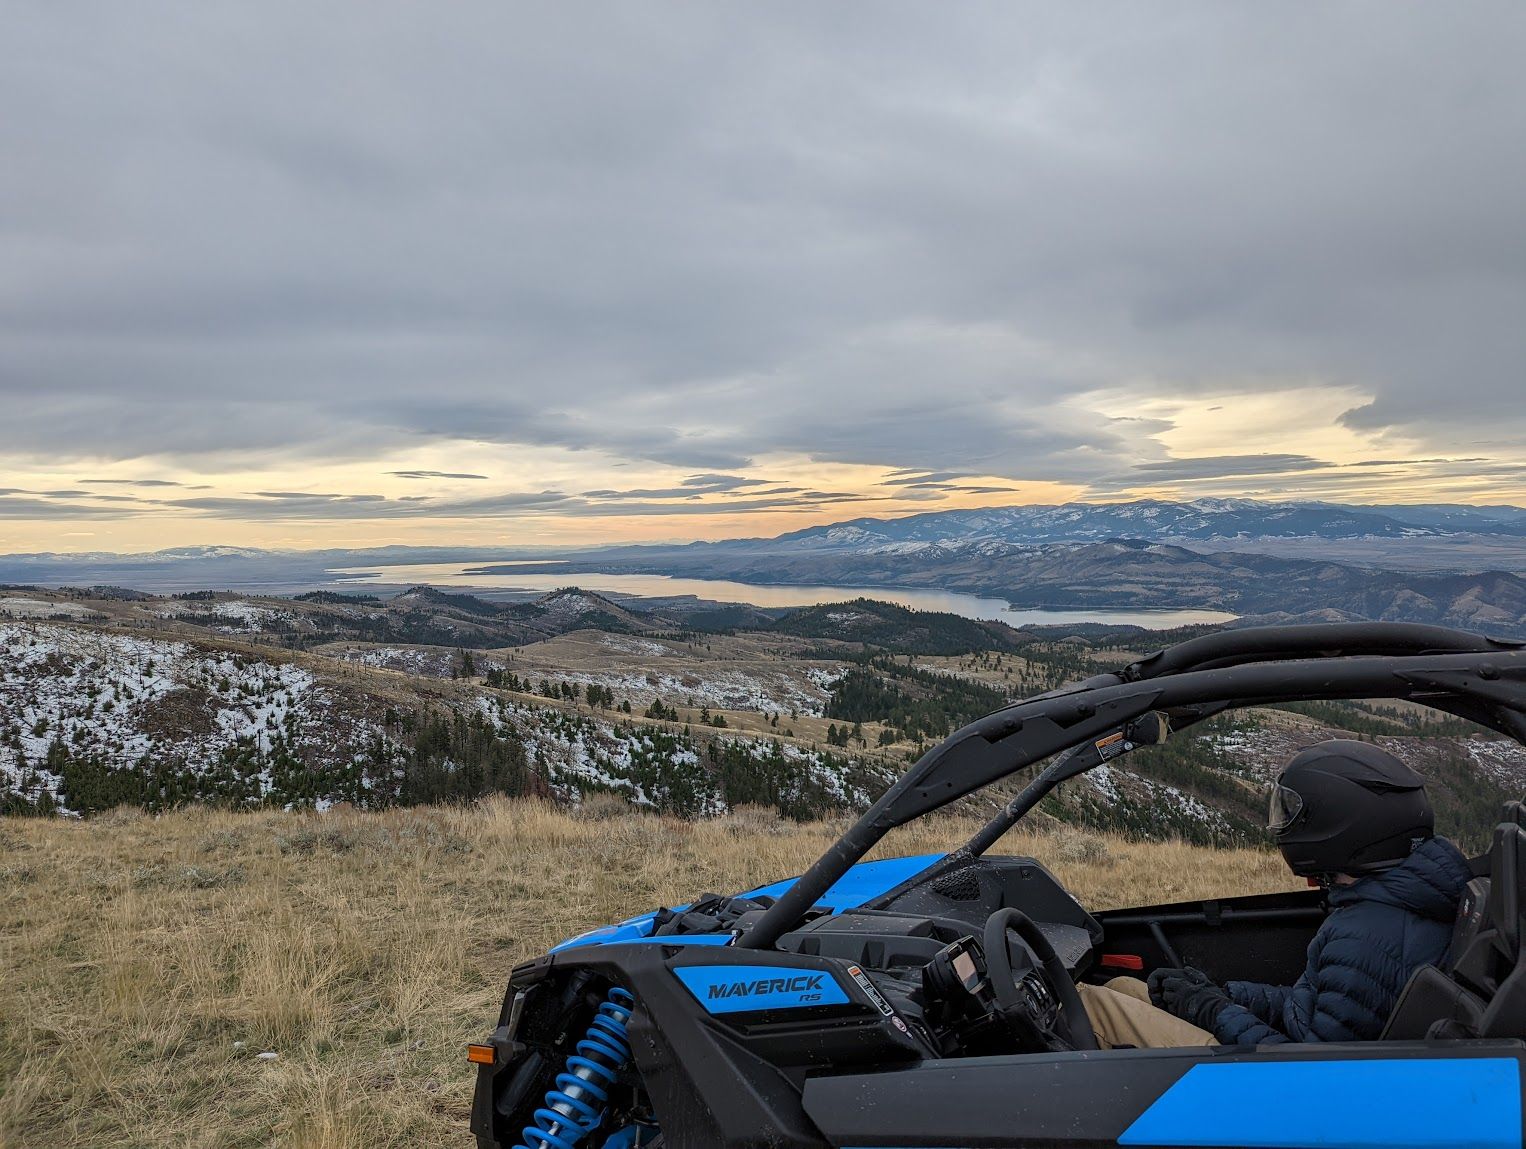
I can't explain the joy I got from the first couple rides that I went on in this machine. I have a fairly fast 400HP car but even it doesn't compare to the feeling of 200HP in a 1600lb package.
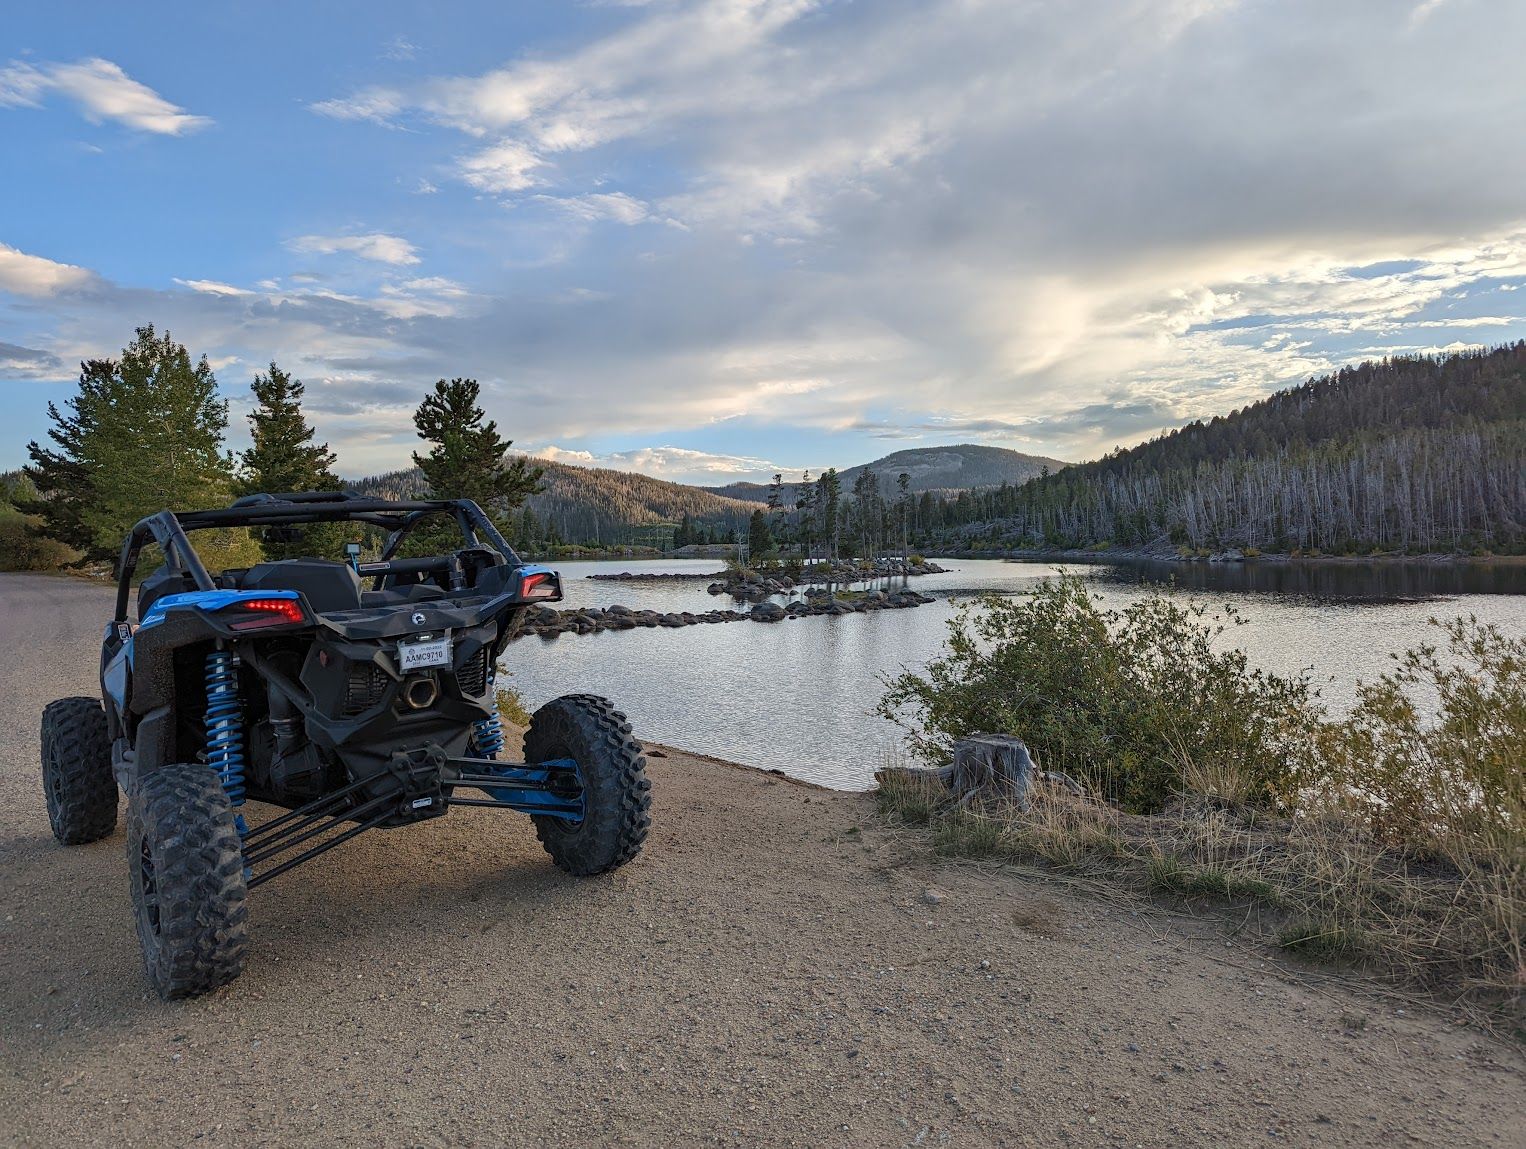
At first not having a windshield didn't really bother me, it was super nice having the open air in your face when your screwing around off road with it out by the lake and in the mountains.
However, I quickly changed my mind about that. This is a very fast machine and anytime there was ample room on a straigh I liked to open up on have some fun. Which meant a torrent of wind was constantly in my face and making my eyes water. So to combat that I bought some goggles for my helmet and bought an additional full face helmet so that if I had a friend riding along they didn't have to deal with the wind either.
Boom! Problem solved. Or at least I thought. Turns out that even though I solved the issue of wind in your face, you really couldn't at all have a conversation with the person next to you. When you're both wearing helmets and you have the noise of the wind it becomes impossible to talk. (enable the audio in the video)
It wouldn't be for a while later that I eventually buy a full windshield and really start digging into the upgrades that I would need/want to maximize that fun factor.
But before all of that I took it on many adventures by myself and with friends while simply using the helmet and goggle system which for the most part worked fine. You just had to come to a complete stop of moving very slowly to converse with each-other.
Sticks are the enemy
Who doesn't love being stranded in the middle of nowhere with no cell service and a flat tire?
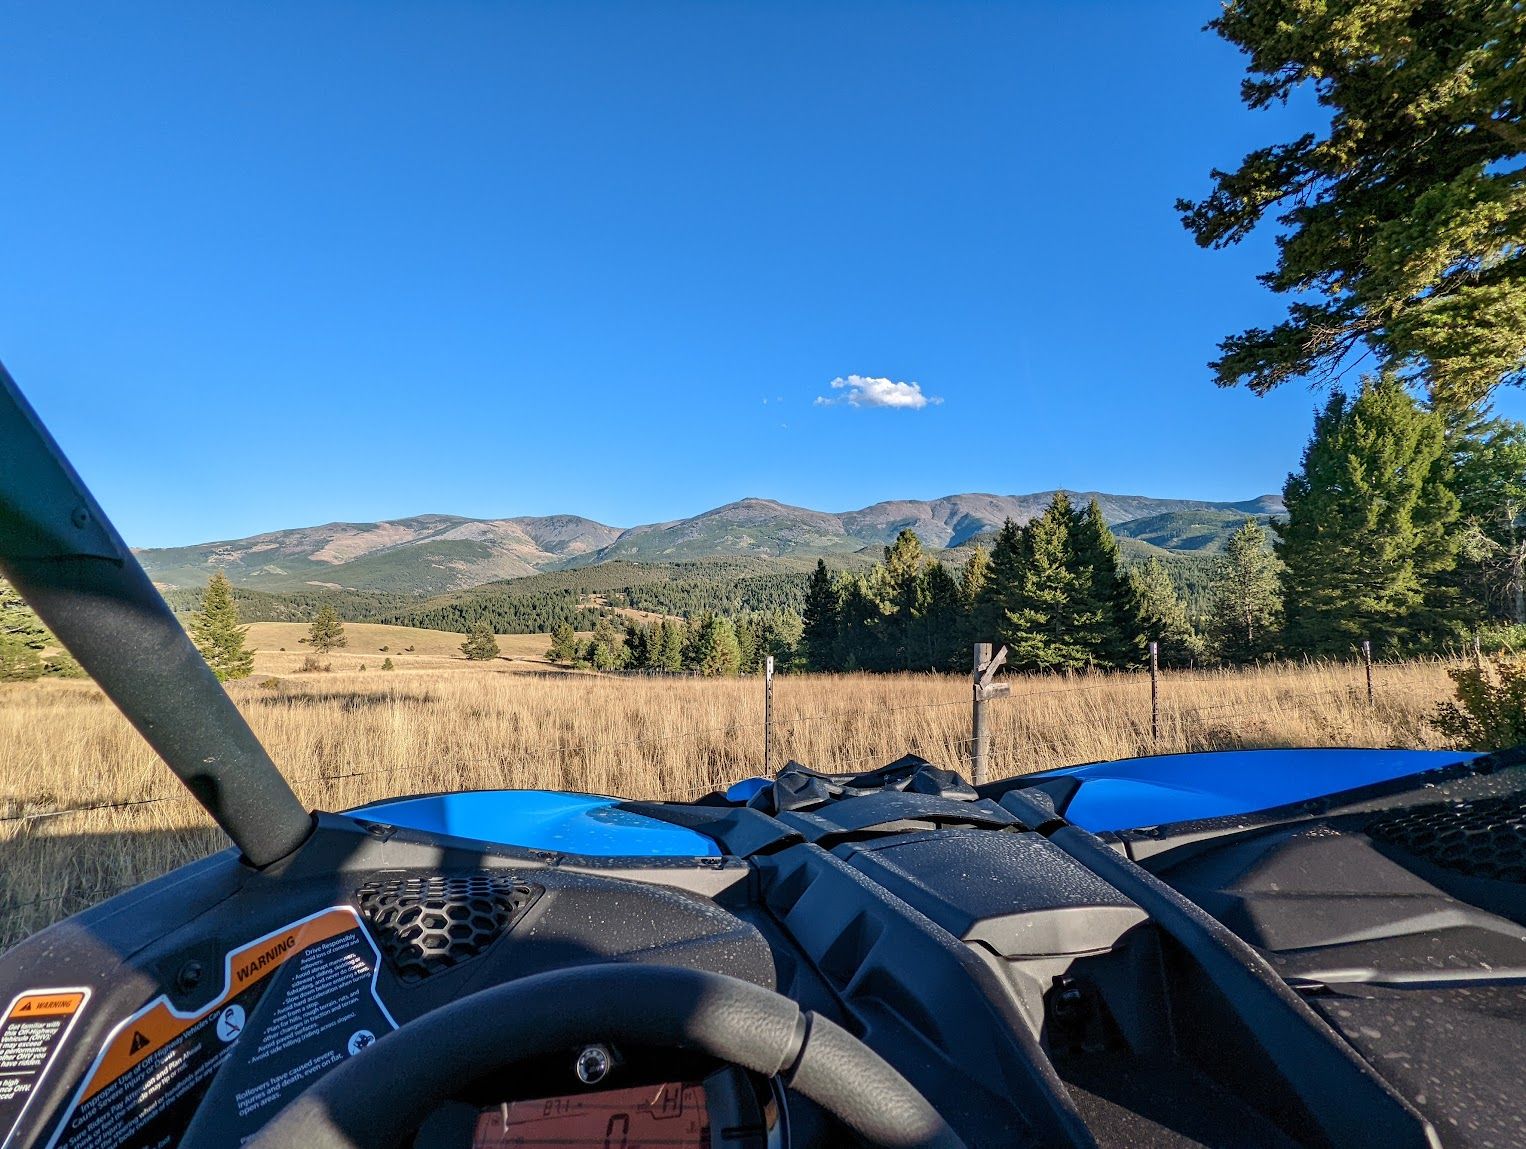
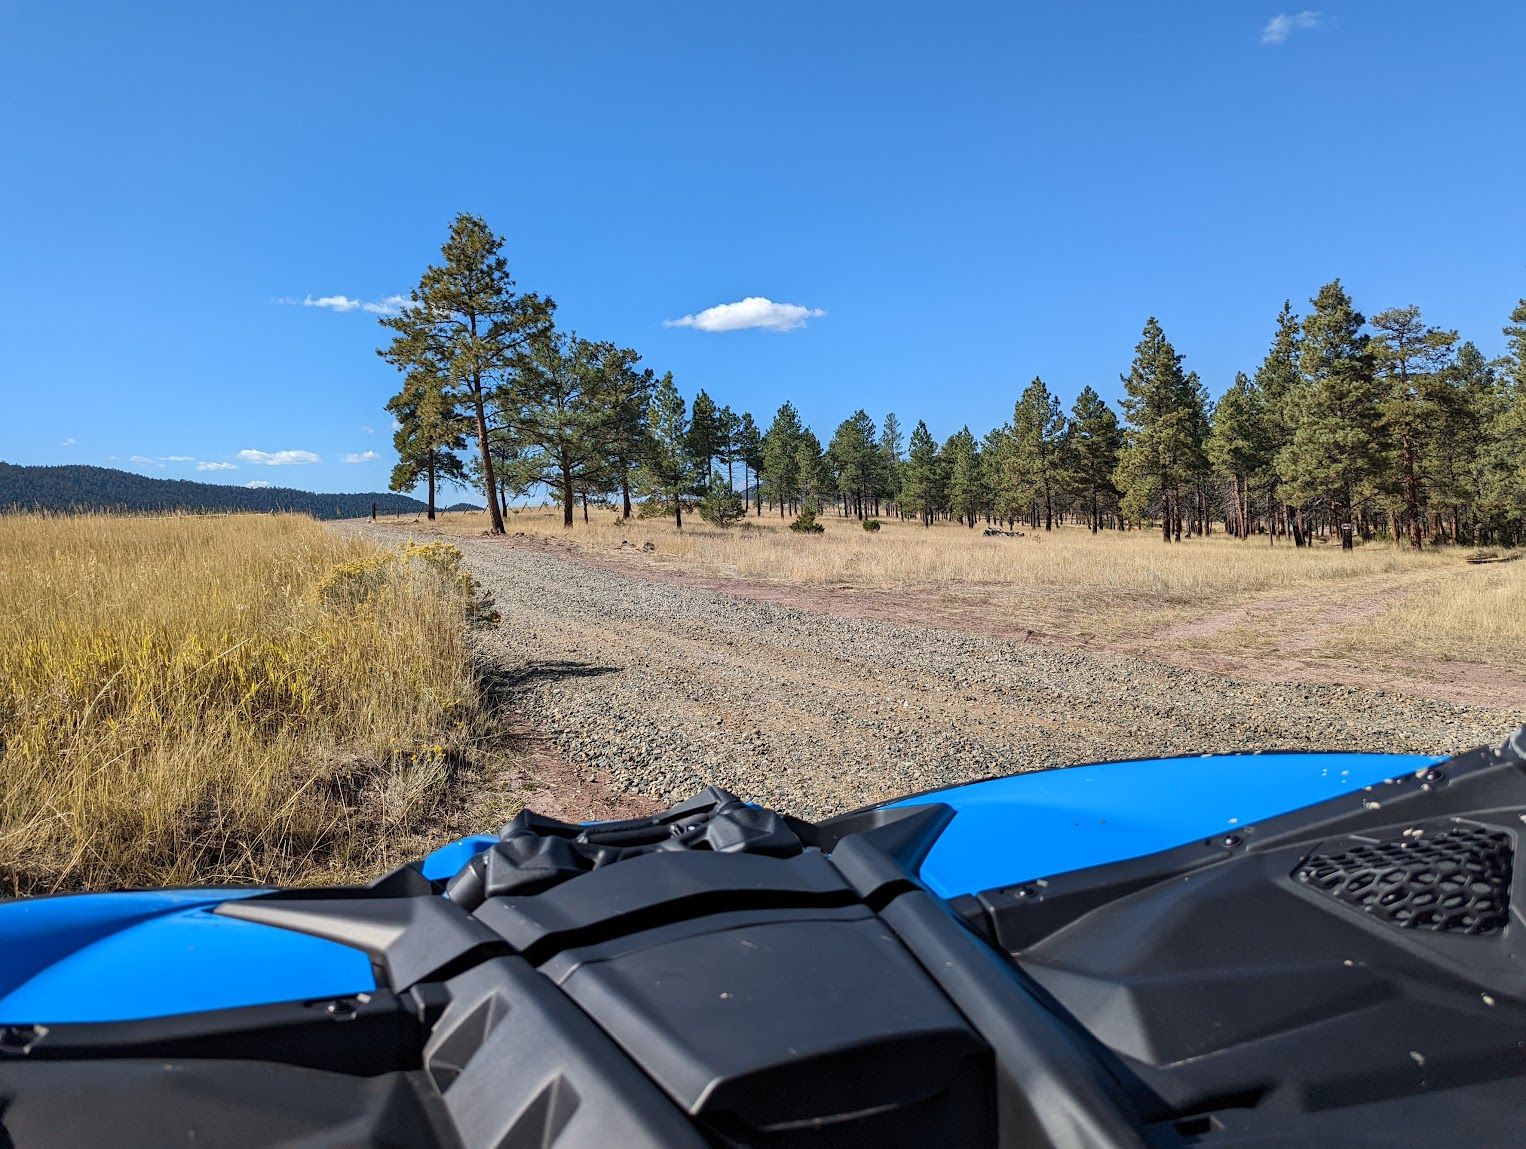
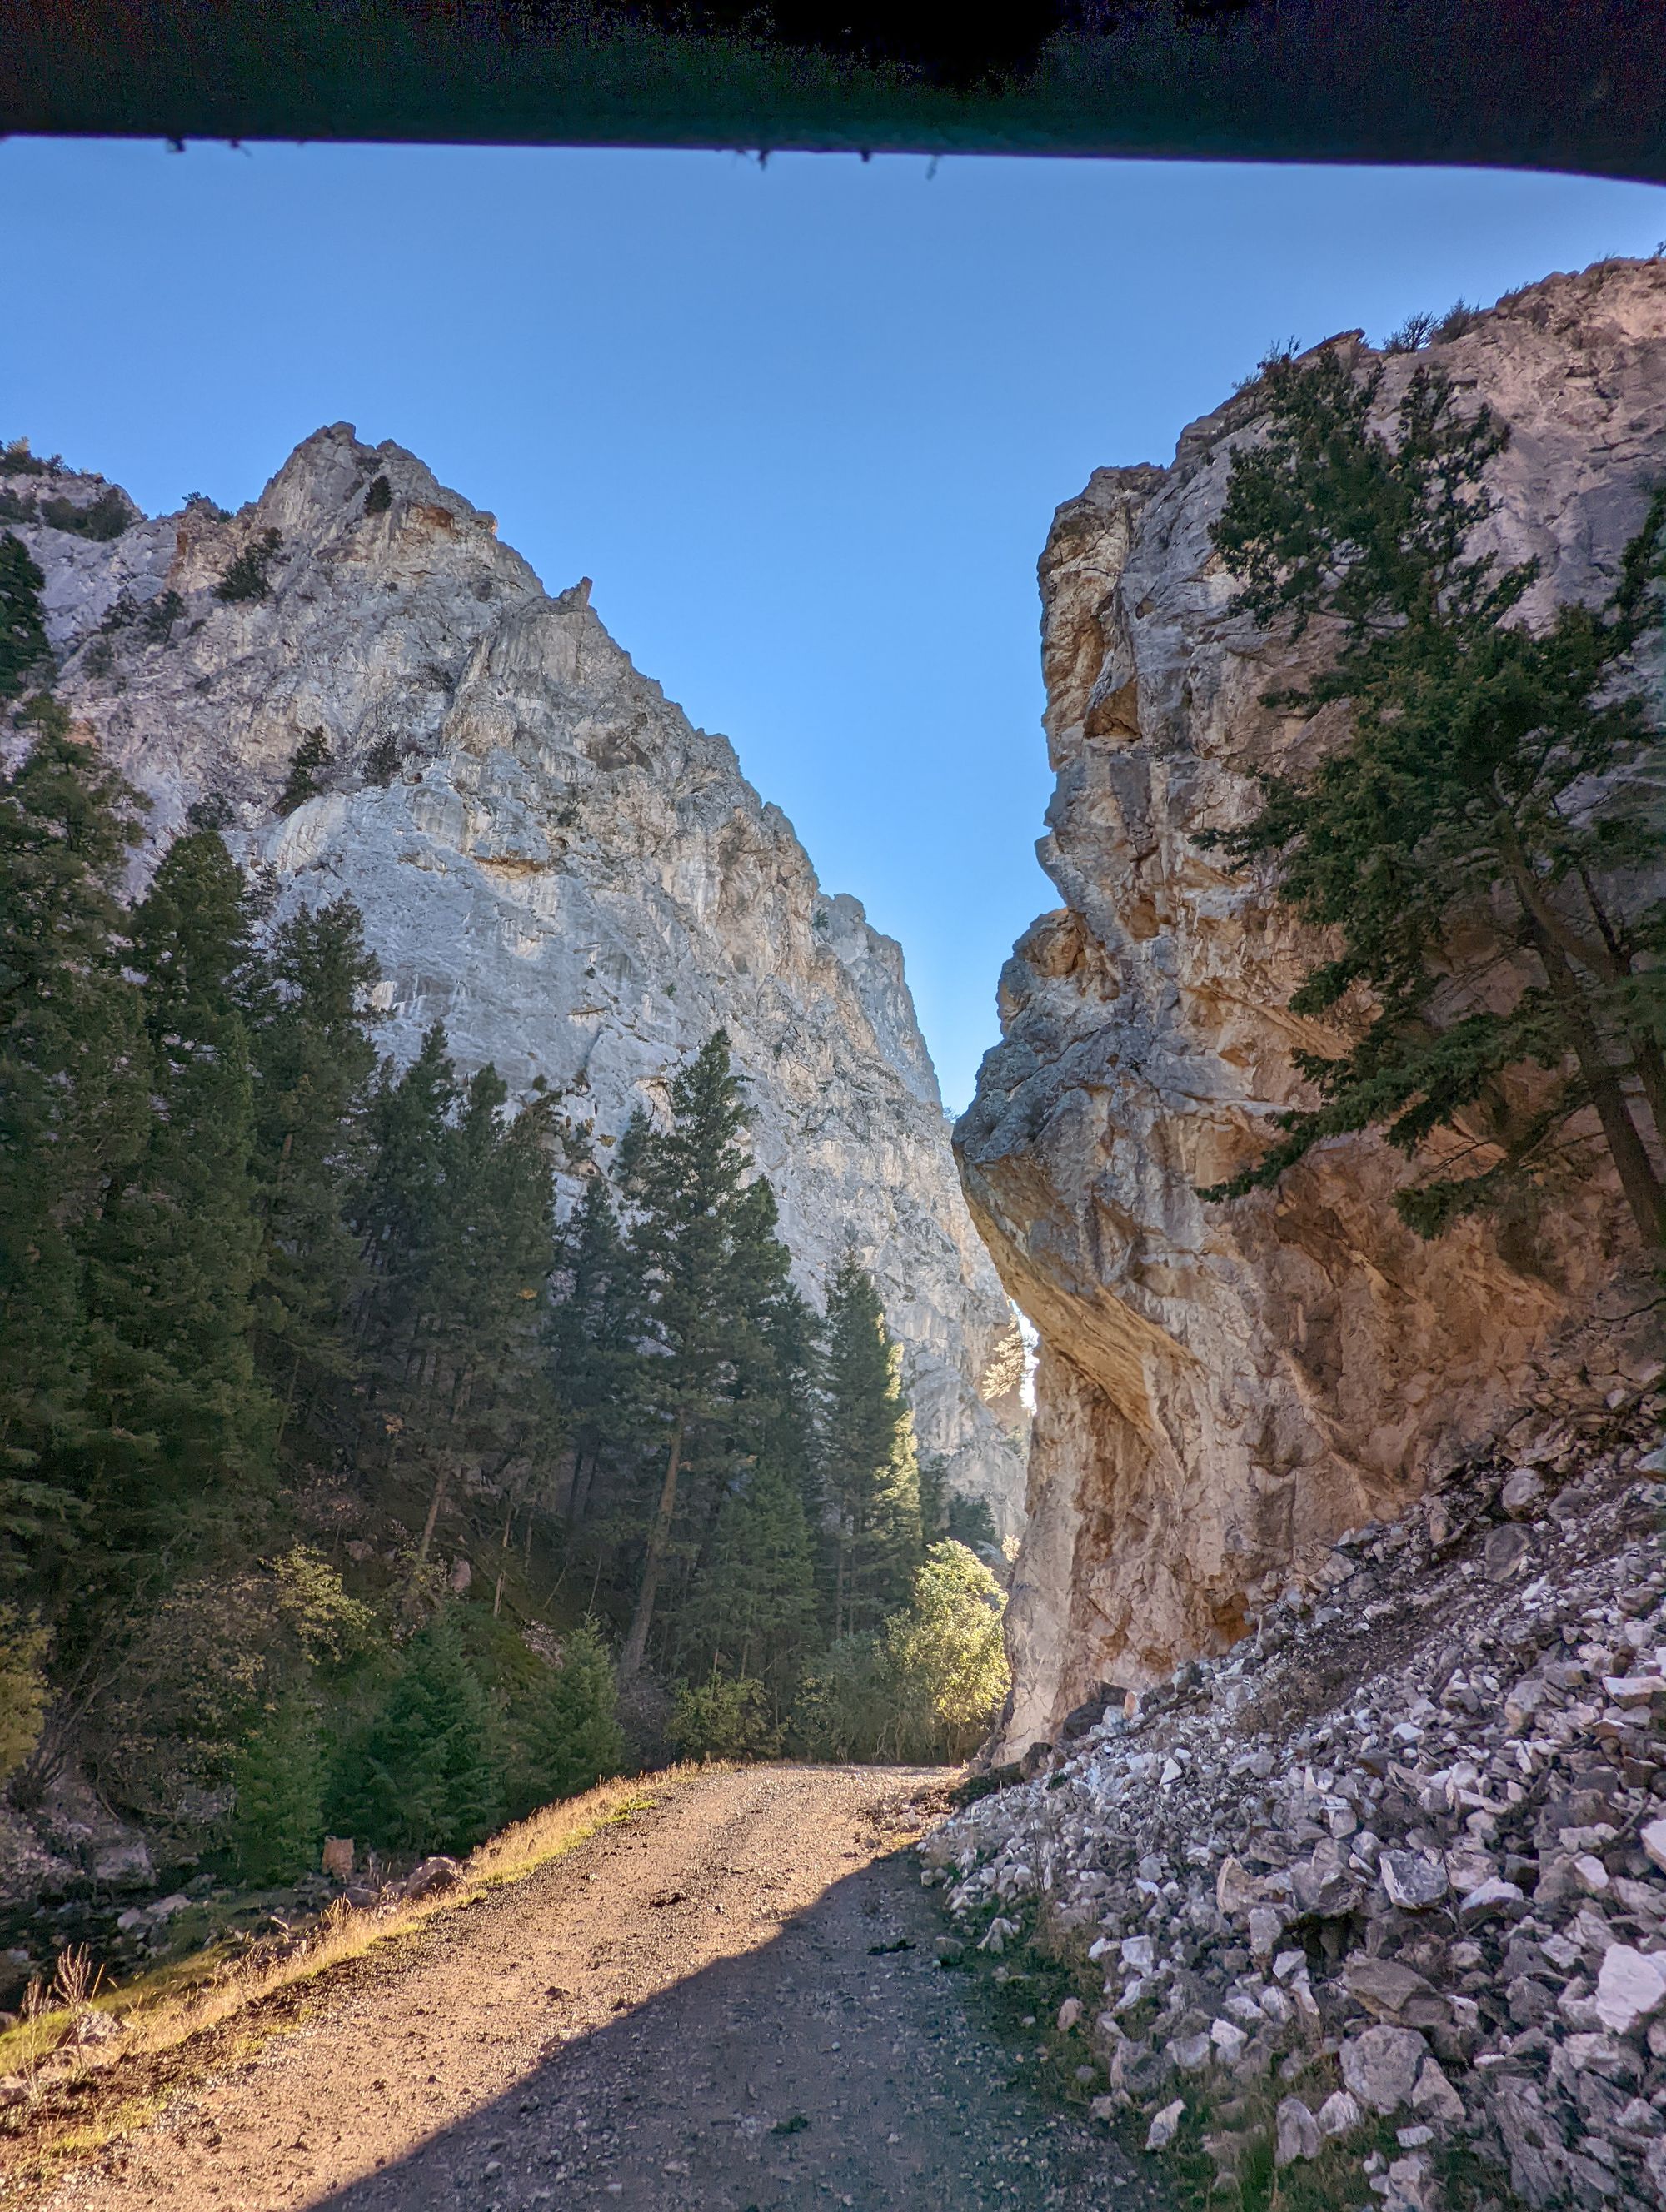
One of the very first rides I took it on was with my friend Joseph. We decided to take it up to York which only takes about 15-20 minutes to get to from where I was storing the machine. You're driving on a paved road all the way up to the area which is no big deal since it is street legal and can easily keep up with traffic.
The very tiny town of York is nice because it has a lot of fun trails for OHV vehicles and being nearby it's the perfect place to checkout. Little did I know it would lead to being a great learning experience on what sort of supplies to have with you when traveling to an area without cell service in case of an emergency.
As we were coming down from the mountain we ended up driving over a stick that was laid parallel with the vehicle. We must have been moving at just the right speed such that as the front tire drove over the stick it lifted it up at just the right angle that it got jammed into the back tire. Luckily we were only about 2 miles away from York so we were able to limp it back which only took about 30 minutes.
Unfortunately, there isn't any cell service in York however the York bar did have a land-line phone which after about an hour of trying to get ahold of people we were able to have Josephs brother come pick us up.
What did I learn?
If anything I learned that I needed to have either a spare tire on the machine or a proper repair kit to handle such a situation. While this was definitely extremely unlucky, if it happened once it most definitely will happen again.
I spare tire also means needing a spare tire carrier and both combined are not cheap. So I opted to buy a fairly complete tire repair kit and electric compressor that I could carry on the machine which would handle most situations. At the very least until I could properly research and decide on what I wanted to purchase spare tire/carrier wise. This would just be a temporary solution.
We also learned that the likely reason this puncture even happened was that the tires were inflated by the dealership to be rock-hard. They had around 35 PSI in each tire which is way too much. Because they were inflated so much they didn't have any flex what so ever, which made it super easy for a stick or even a sharp rock to puncture.
We brought the tires down to about 14 PSI which didn't affect the ride handling at all and actually improved the ride quality. Bumps in the road less noticable and overall it made it way more comfortable to ride. It feels like riding on a cloud compared to before we deflated the tires.
THEY GET DIRTY VERY QUICKLY
No really, even on a dry day it somehow ends up muddy.
Something I wasn't quite expecting was just how dirty and muddy these things get. The base model doesn't really come with fenders to help block the mud that the tires kick up either so it just lands all over the machine. And if you don't have a windshield/roof the inside quickly gets to be just as dirty as the outside.
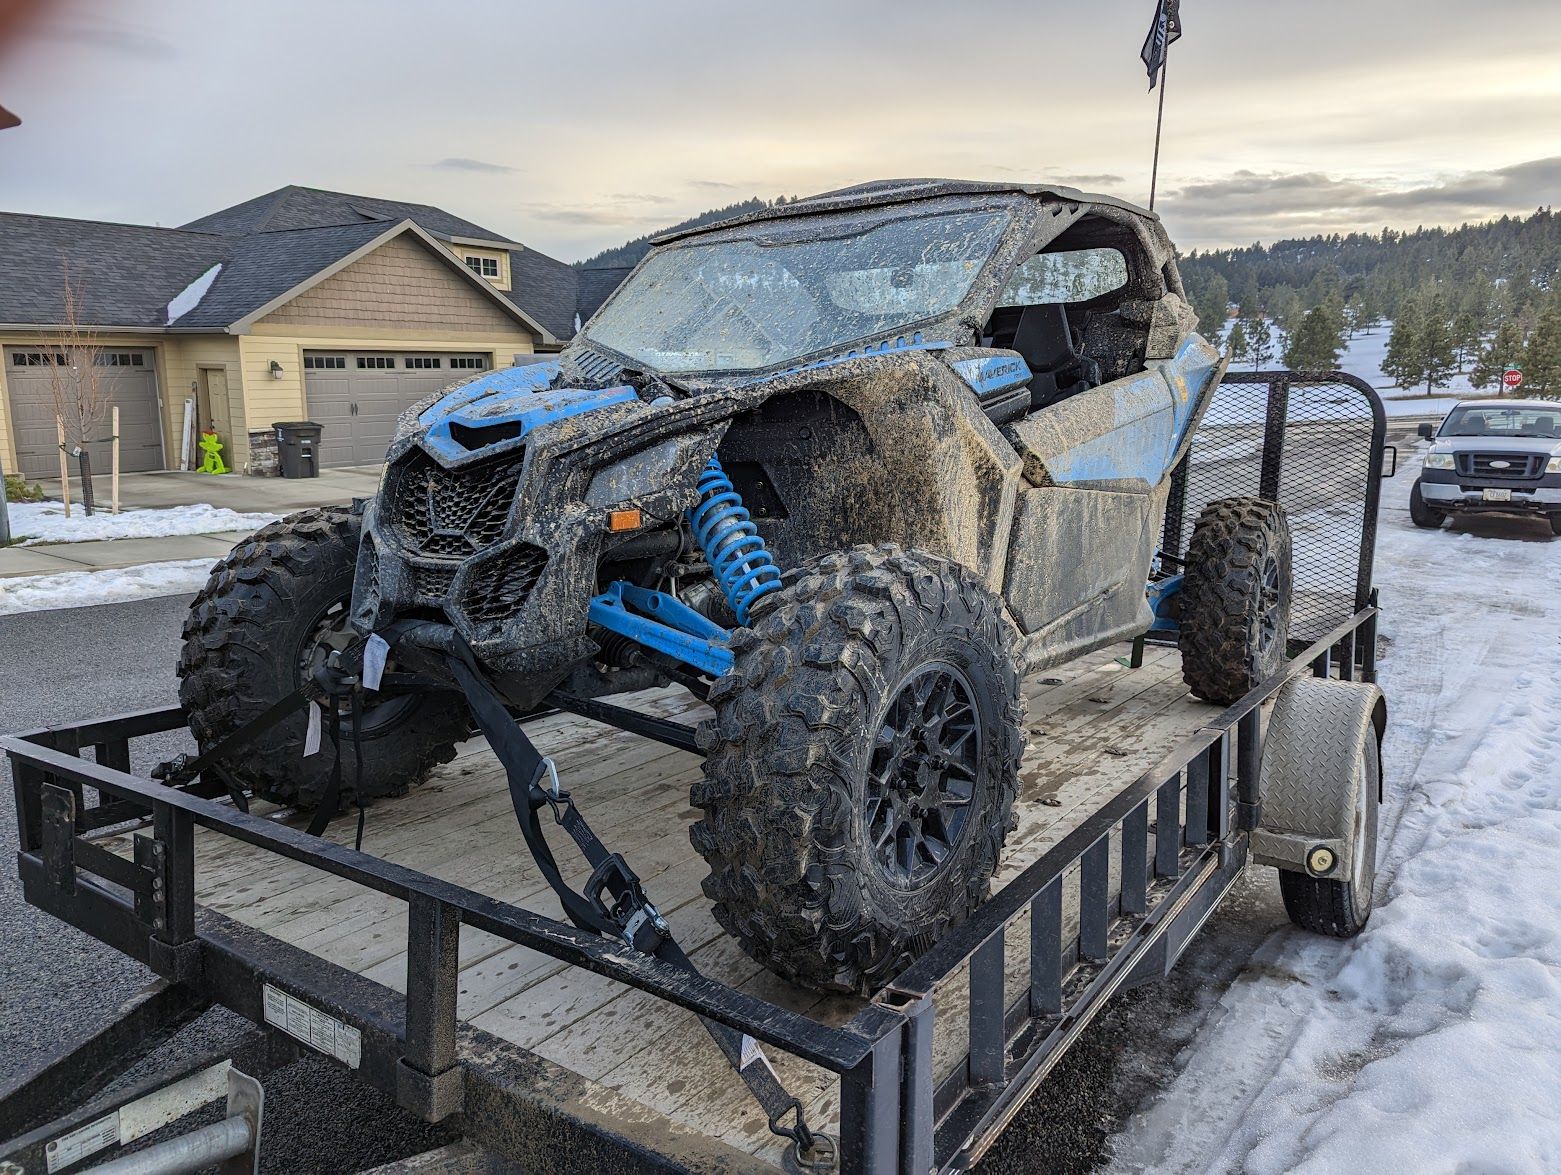
As with anything that you want to last a long time you need to take proper care of it. Which means, after every muddy trip the first thing I do is take it to a car wash and completely spray it down. Why? Because dirt and mud will build up in places you don't want it to build up in if you don't clean it out. Components will wear down quicker if you're not keeping them clean.
Final Thoughts...
While it is definitely not a cheap toy and after you look at the upgrades section at the end of this you'll see why it can get to be a very expensive investment I very much think it was money well spent.
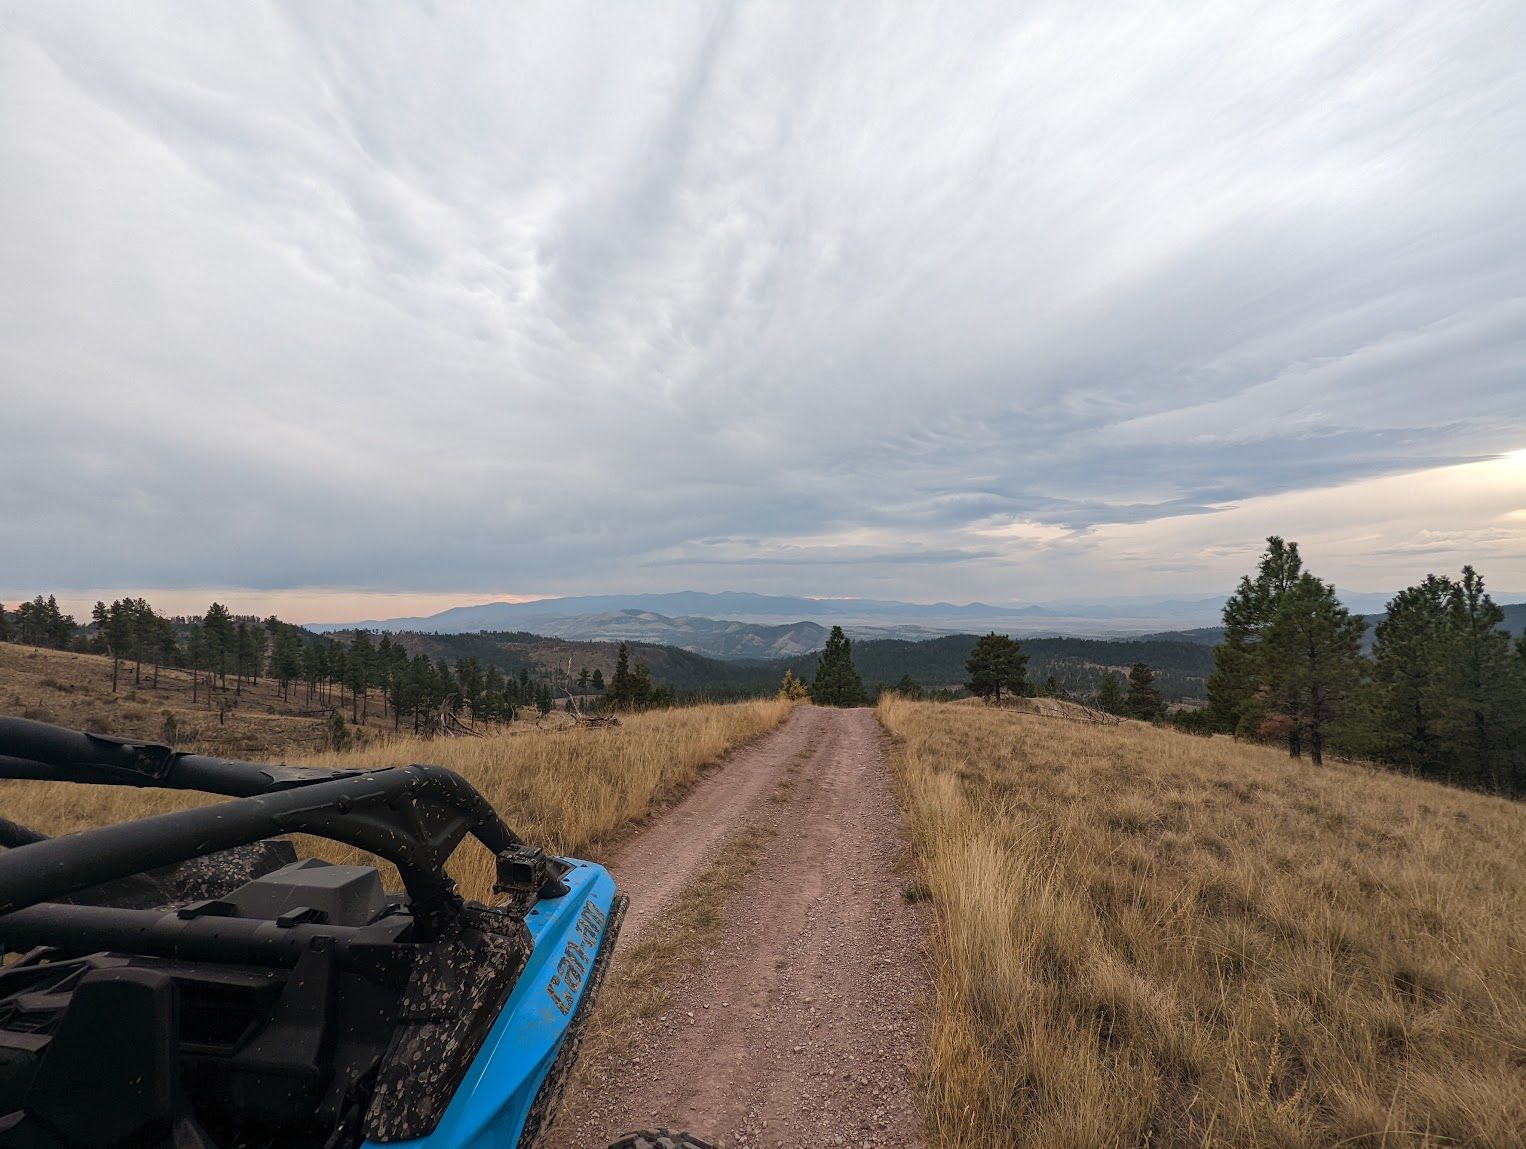
Every single time I go for a ride in it I have an absolute blast. Especially when you get into some truly off-road trails or areas. It has so much power and climbing capability I do not think there is much that can stop it from getting somewhere it wants to go.
It also handles like a dream, there's no better feeling than completely drifting a dirt trail corner while in 2 wheel drive with almost 0 effort. It is just plain fun. The speed at which is can go from a complete stop to 60mph is mind blowing and a little scary for the first couple rides if I'm being honest.
Other than that, you are pretty much guaranteed to spend a lot of extra money on various upgrades. Once you own one of these or any side by side you'll quickly find things you'll want to upgrade in order to make the experience that much better. Below this video you'll see all the upgrades I have made and how much they have each cost me.
The Upgrades
Everything listed here are items I have already purchased and installed onto the machine.
At this point today I've owned this Maverick X3 for about 9 months now and over those 9 months I have slowly bought upgrades for the machine. To keep it simple I'm just going to list them in no particular order. I'll probably go with least expensive to most expensive.
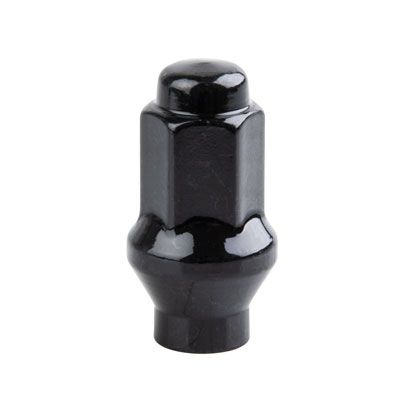
$30 - 20 x Tusk Lug Nuts & 1 x Lug Nut Key
The Tusk wheels need a different size lug nut than what the stock wheels use.
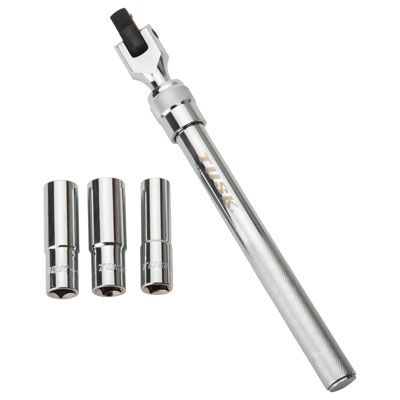
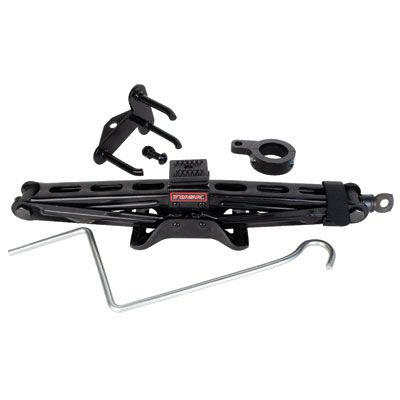
$30 - Extendable Lug Wrench
You need some way to remove the lugs from your tire if you're carrying a spare with you.
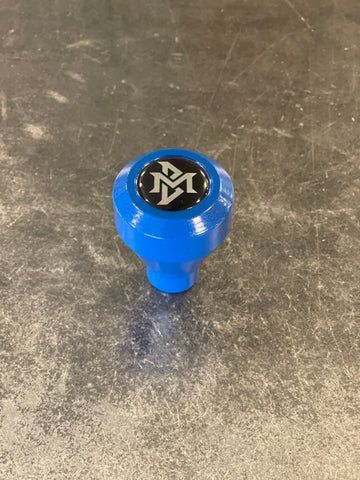
$35 - Gear Shifter Knob
The stock shifter was oddly shaped with a weird rubber grib around it that I just hated. So I bought a good metal shift knob.
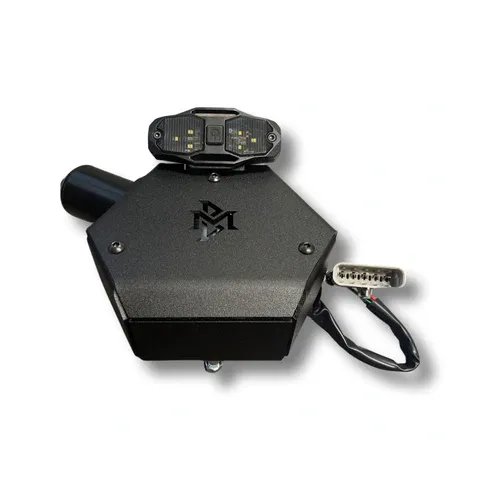
$47 - LED Lighted License Plate Mount
Montana law requires that your license plate be lit up as part of their street legal requirements.

$68 - Tusk Scissor Jack Kit
A spare tire wouldn't be super useful if you didn't have a way to lift the machine off the ground to change it.
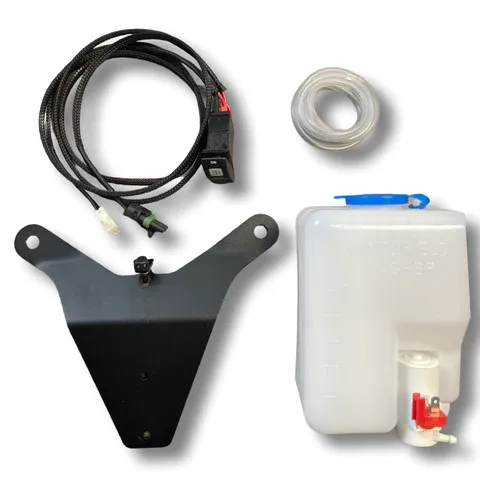
$75 - Bentmetal Windshield Washer Fluid Sprayer
What good is an electric windshield wiper if you don't also have an electric sprayer to help clean the mud off your window?
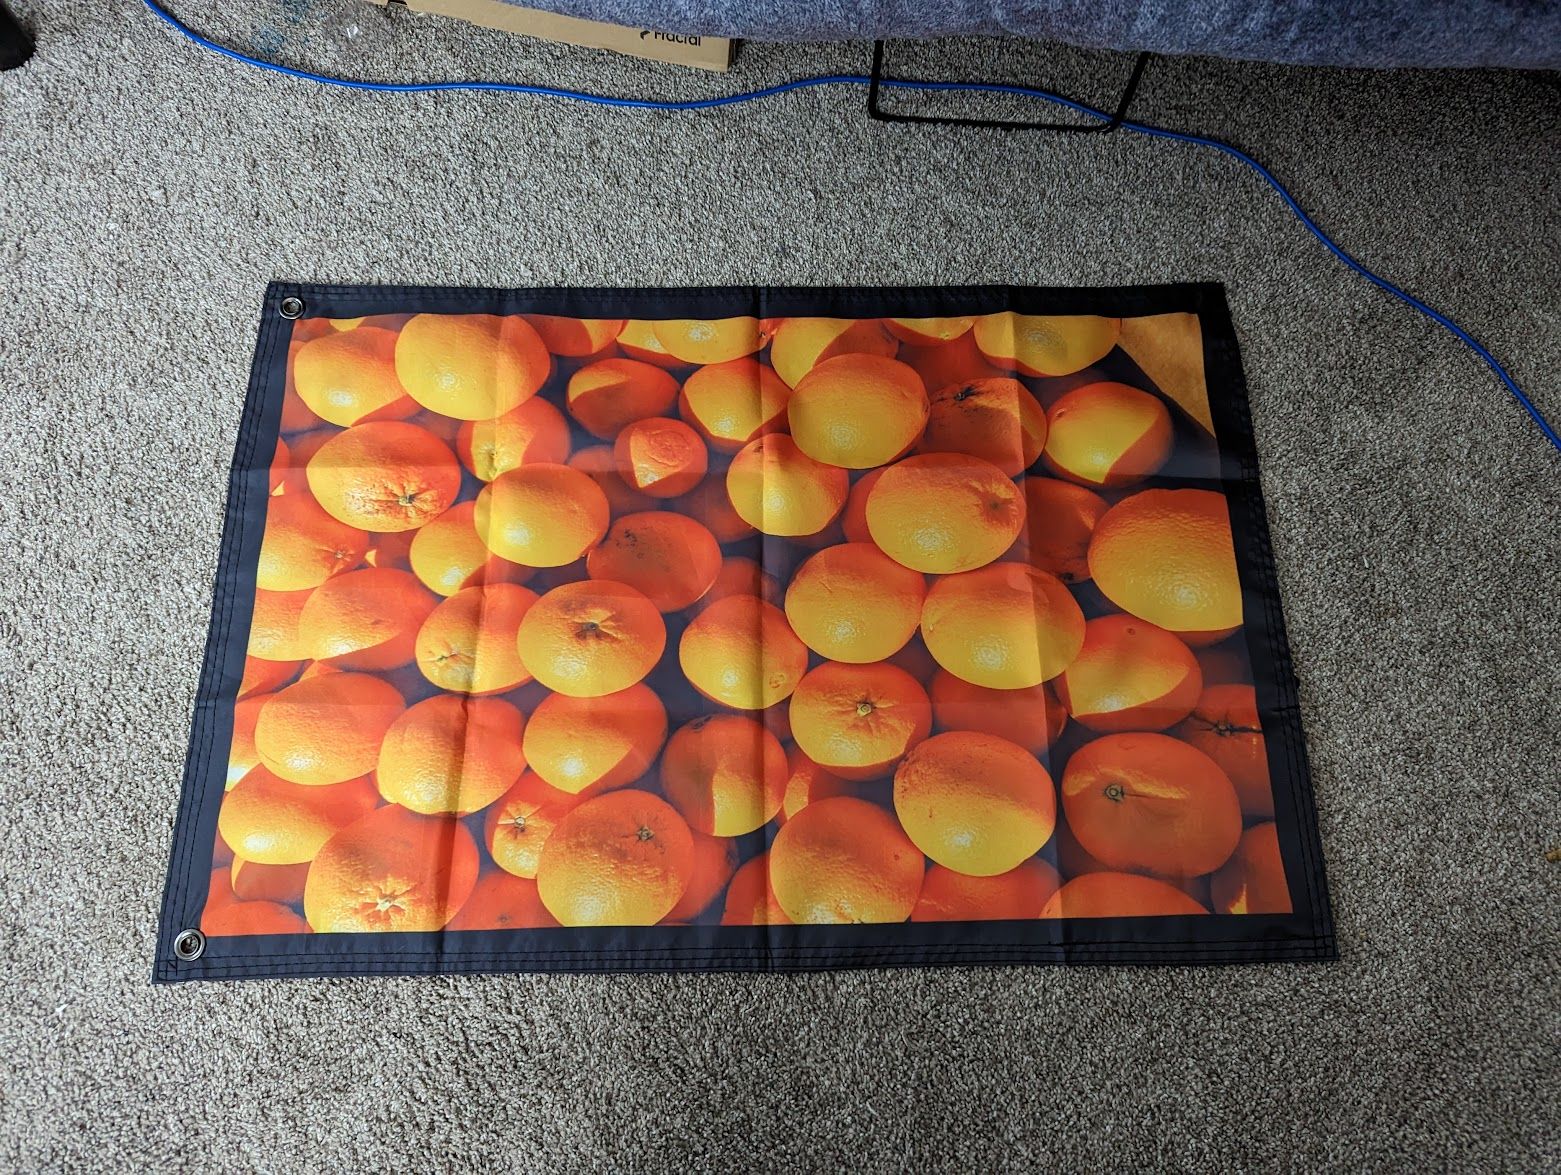
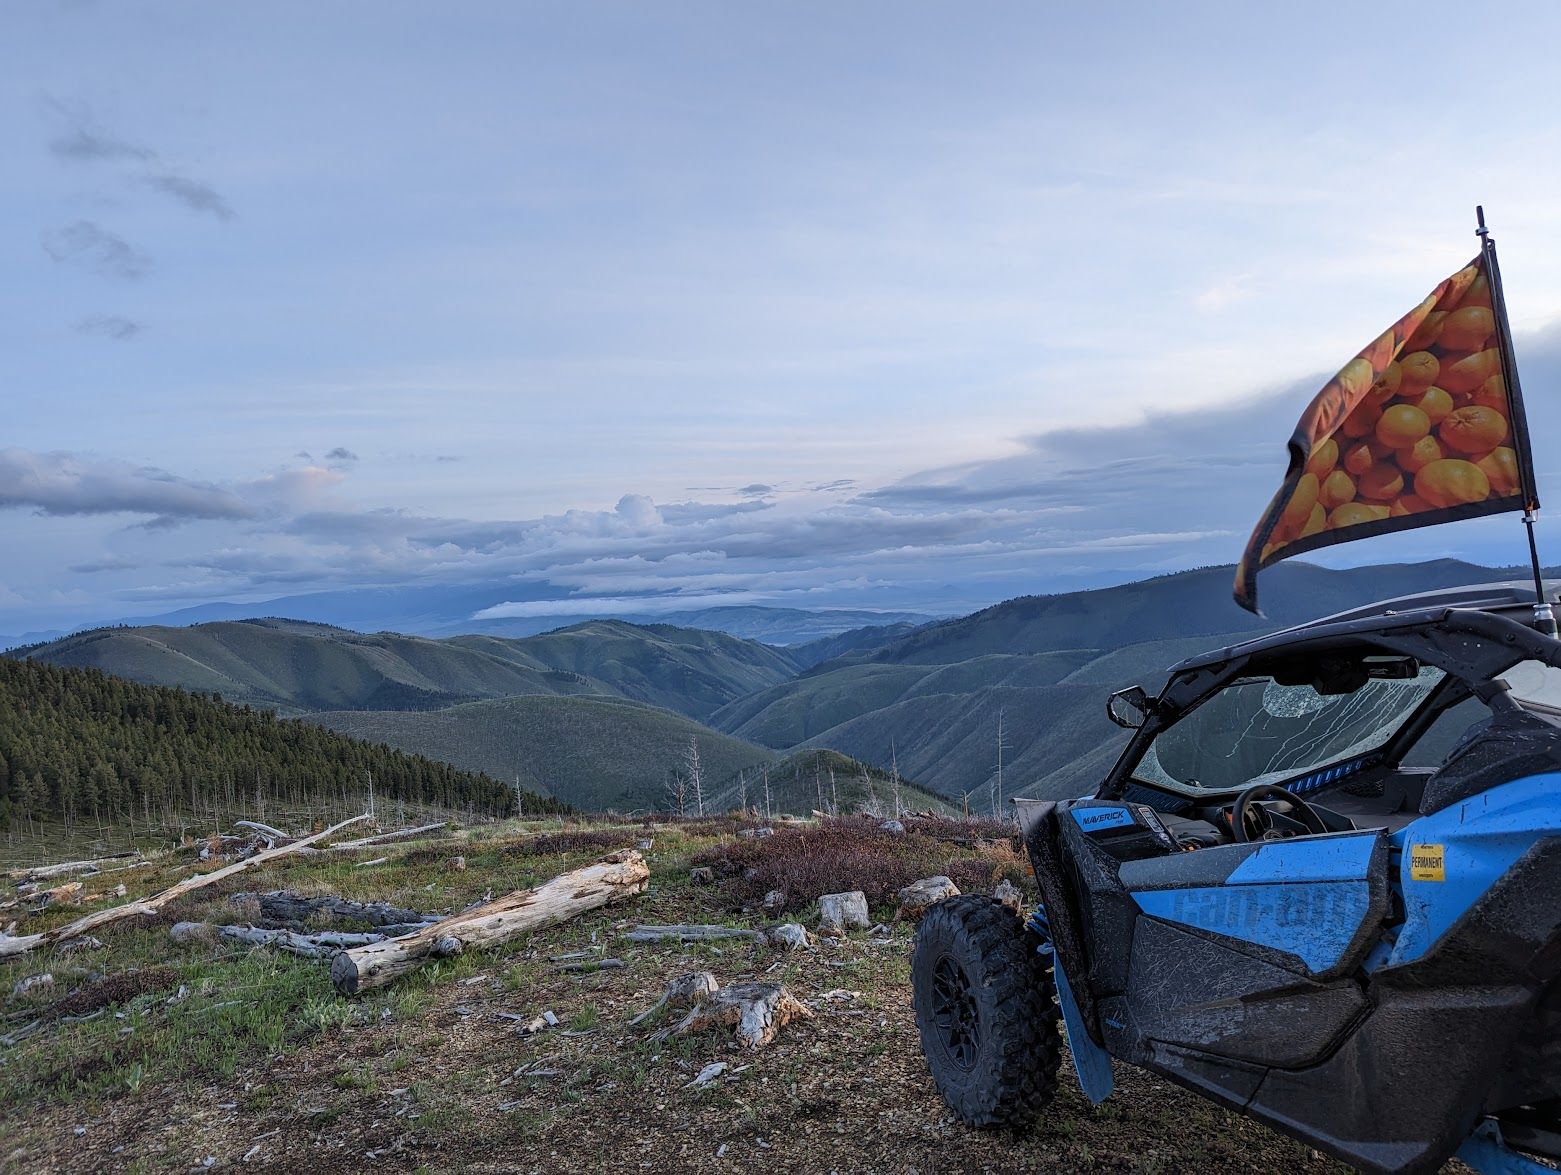
$84 - Custom 2' by 3' Orange Visibility Flag
Its a good idea to have a visibility flag if you're in an area with lots of off-road vehicles around.
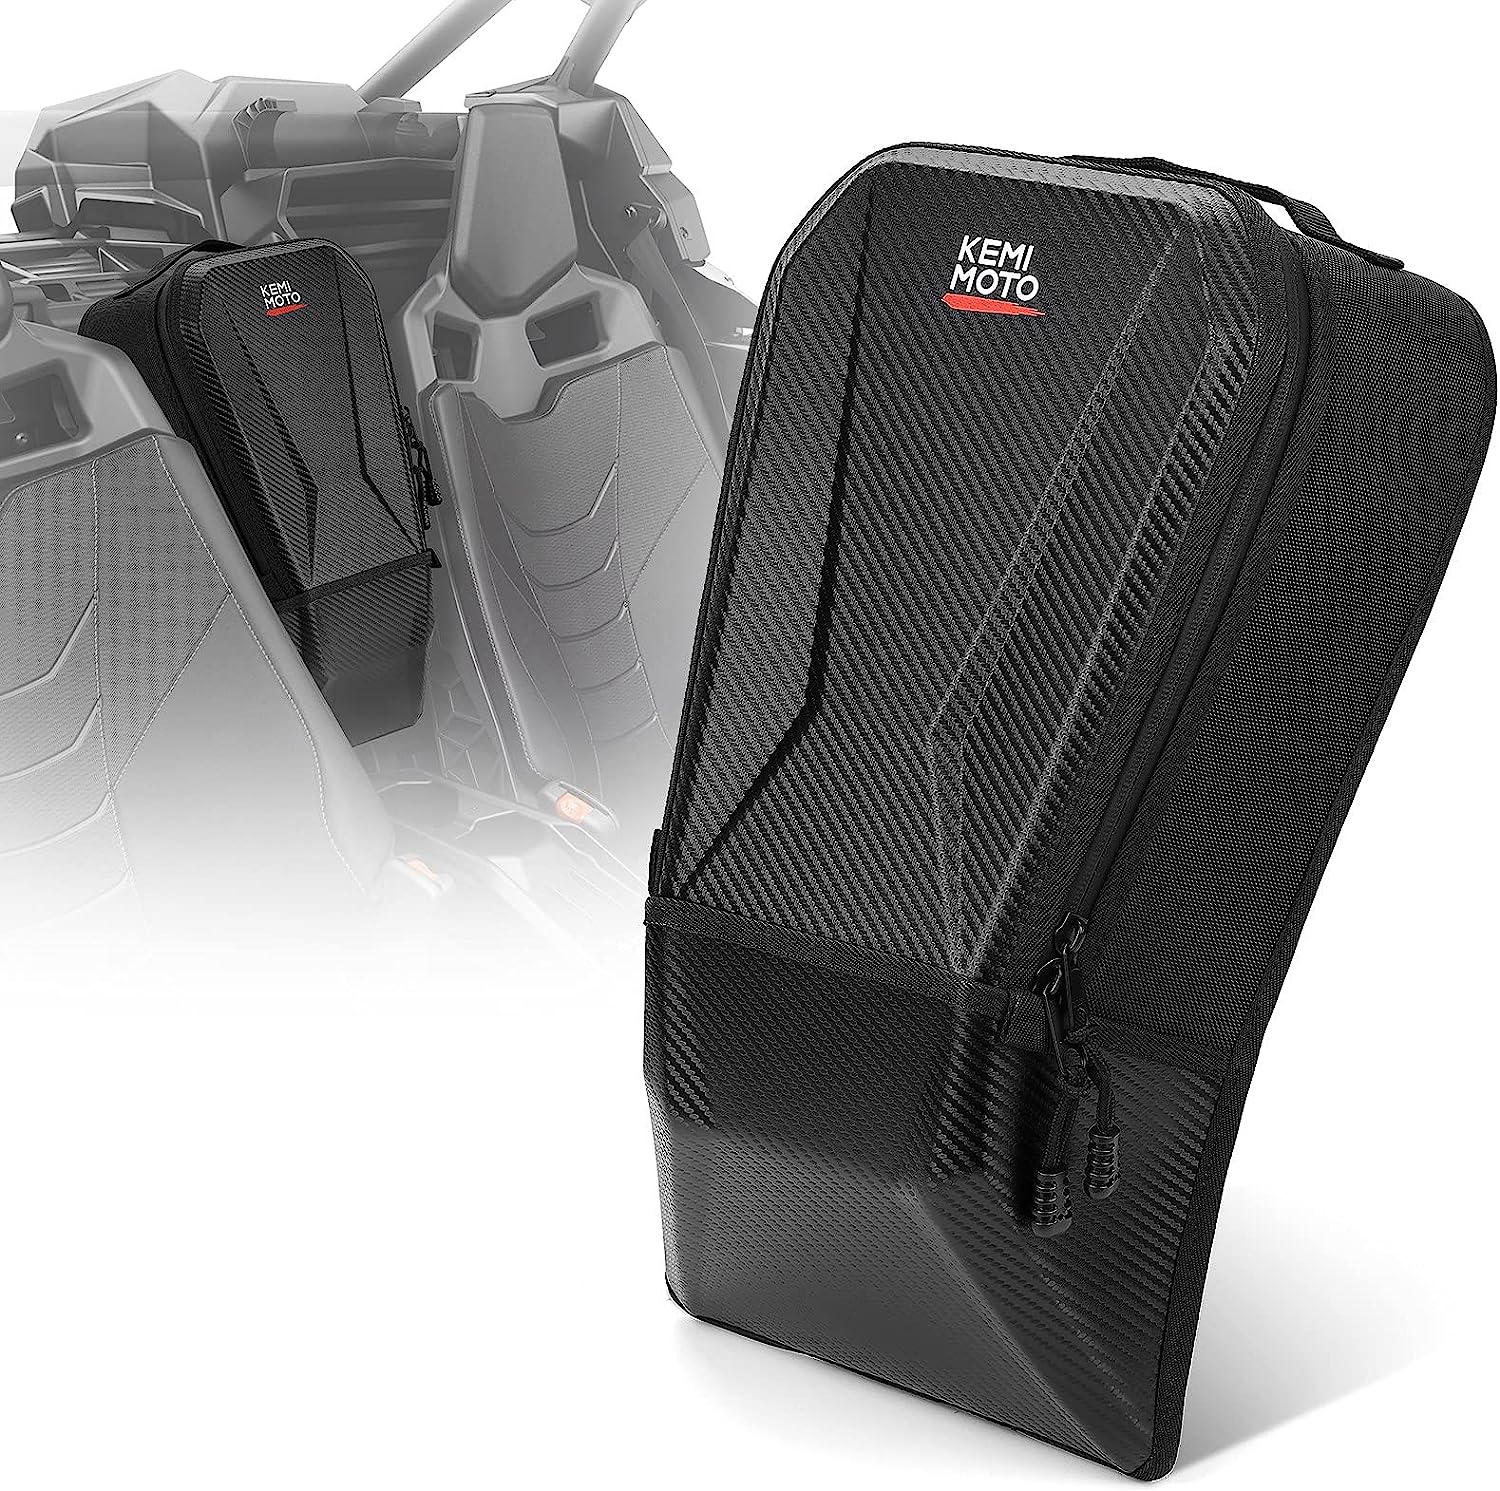
$85 - Kemimoto Center Storage Bag
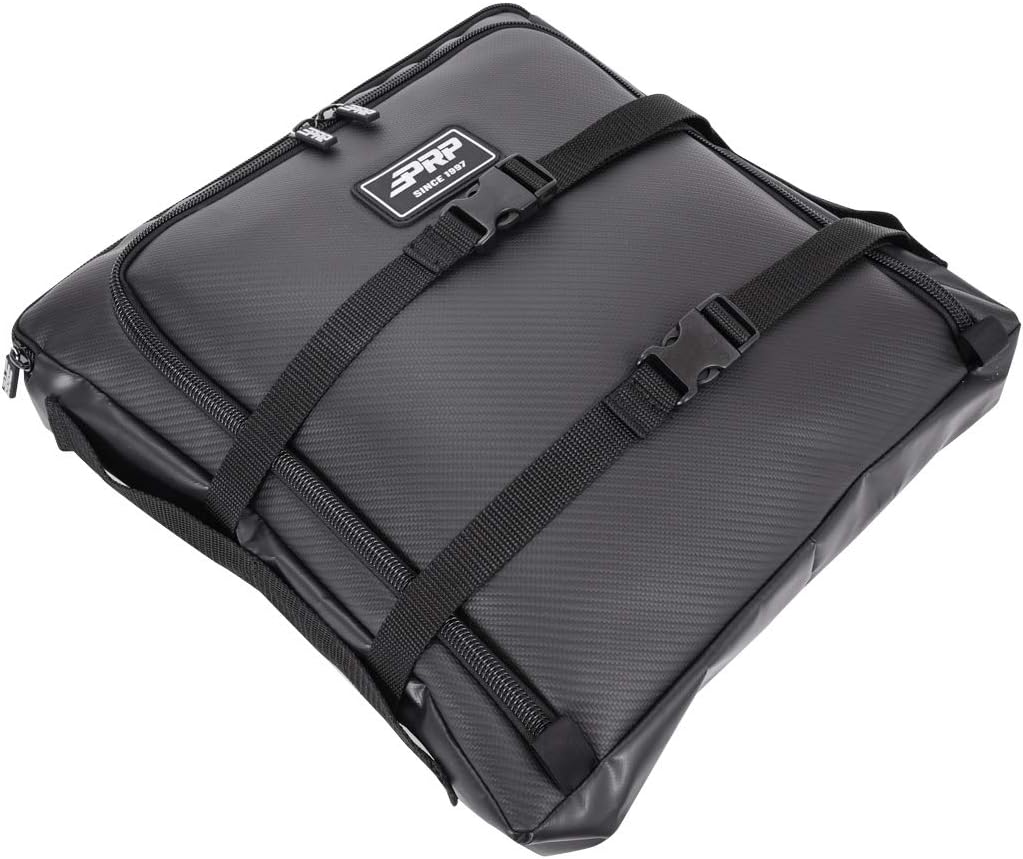
$96 - PRP Under Seat Bag
Additional storage bag that can fit under the seats.
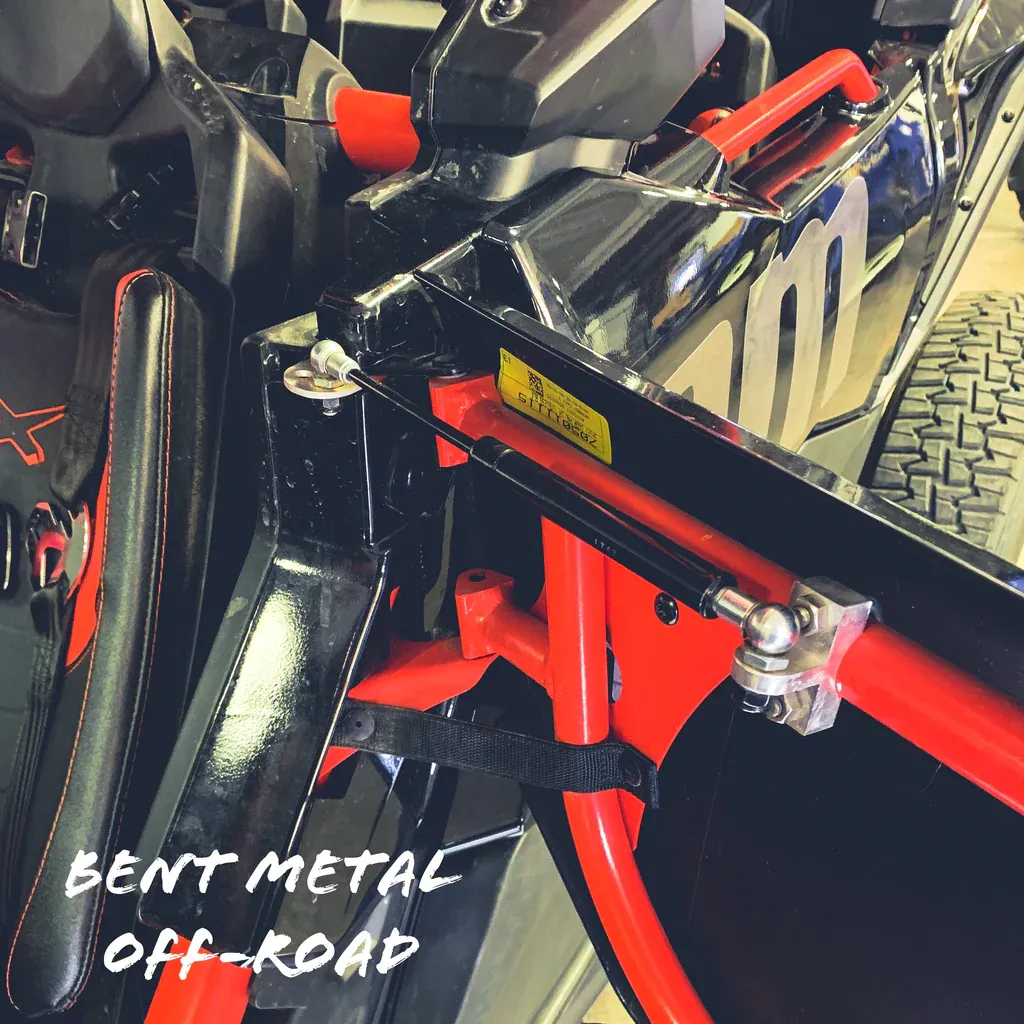
$105 - Bentmetal EZ Hold Door Struts
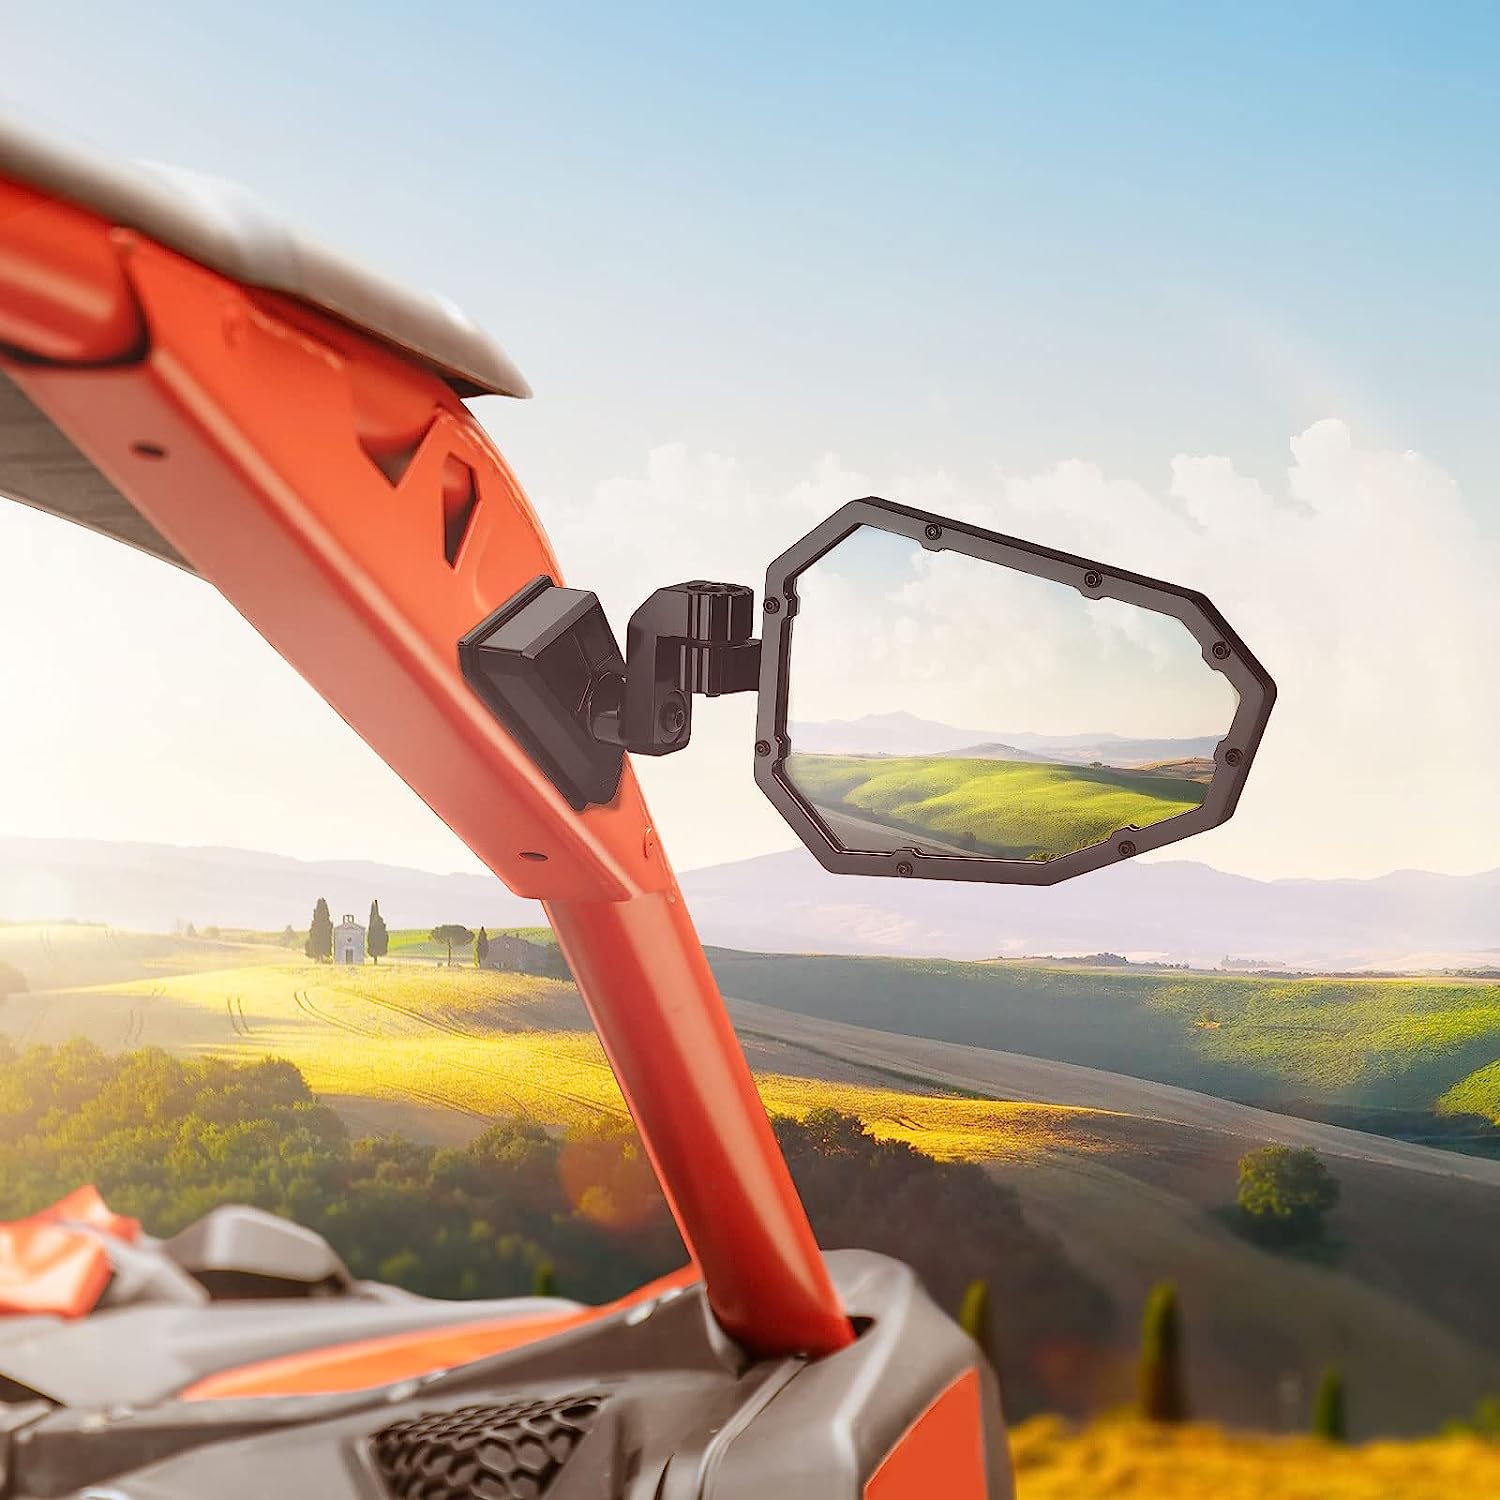
$130 - Kemimoto Aluminum Side Mirrors
I needed mirrors so that I could meet the street legal requirements.
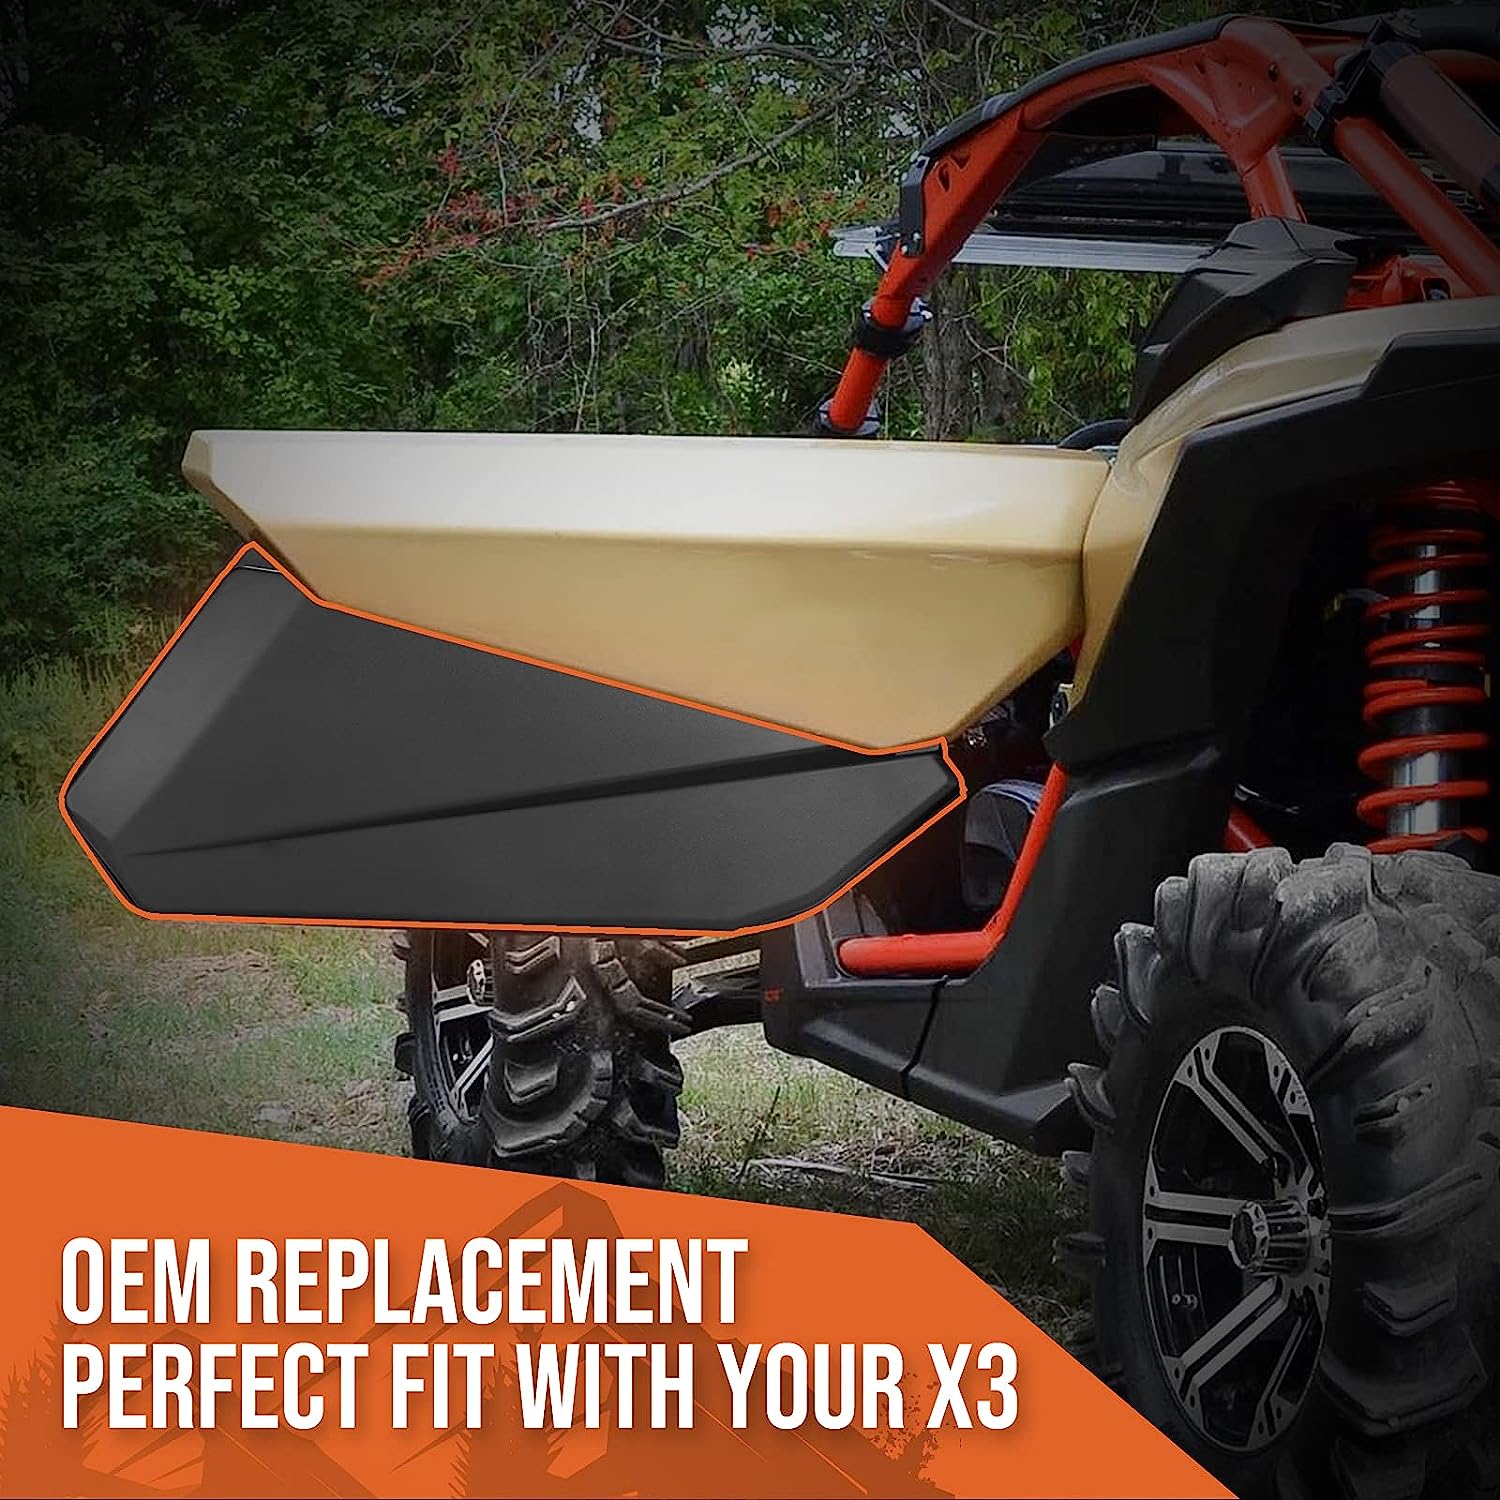
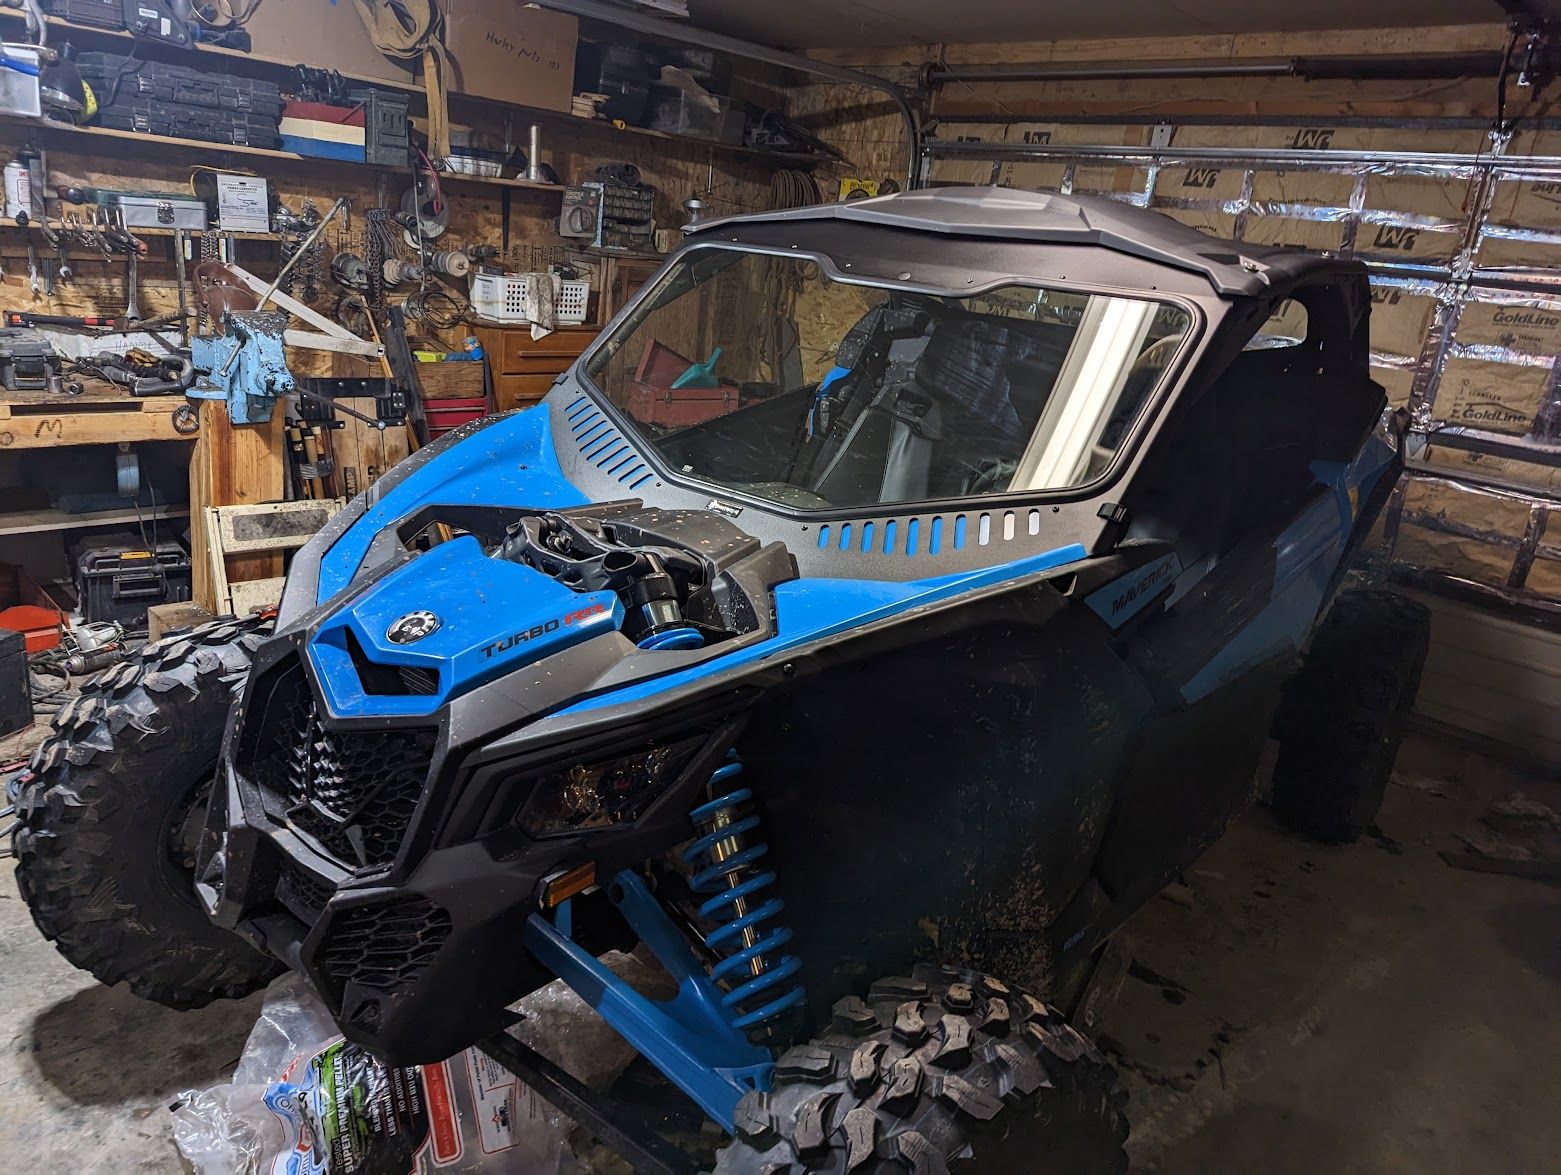
$150 - Kemimoto Lower Door Panels
The lower half of the doors do not exist on the base model X3 which makes it super easy for water/mud to make it into the machine.
$220 - Tusk Spare Tire Carrier
Yeah, these are not cheap. Some slightly fancier options run upwards $600-700.
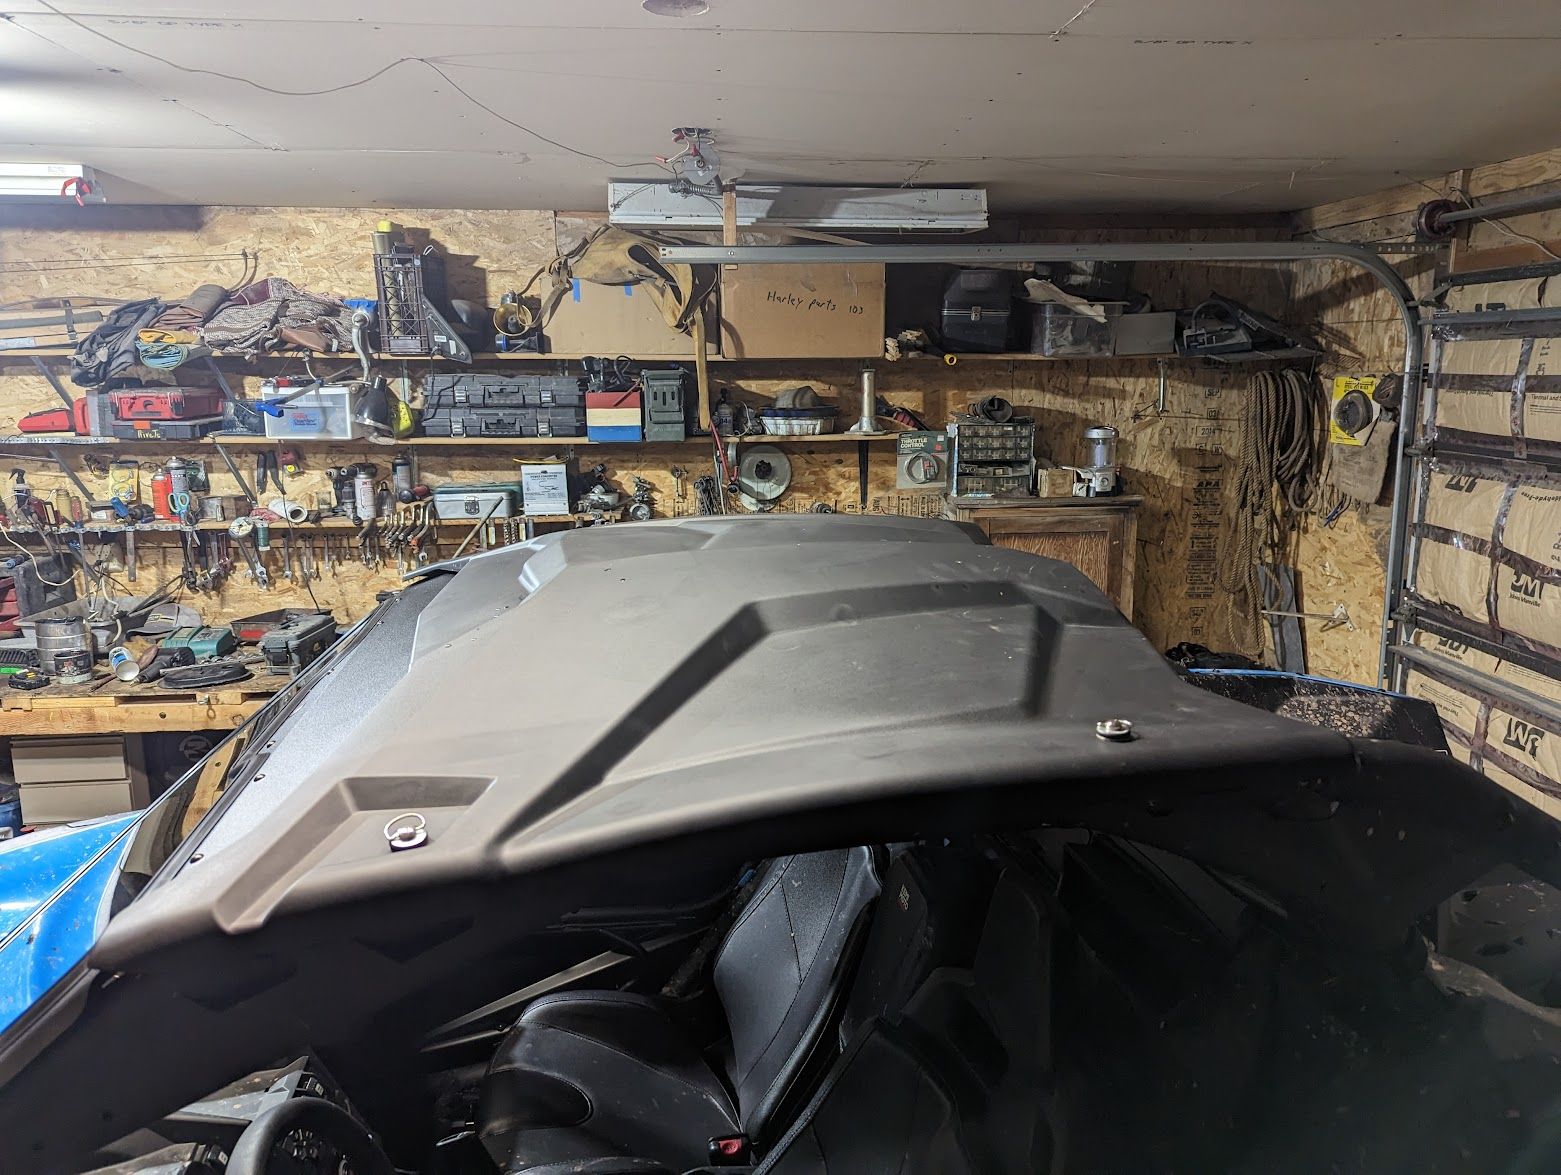
$350 - Kemimoto Hard Top Roof
Another item that the base model X3 doesn't come with which is a roof. I went with a hard plastic one since the metal options were significantly more expensive.
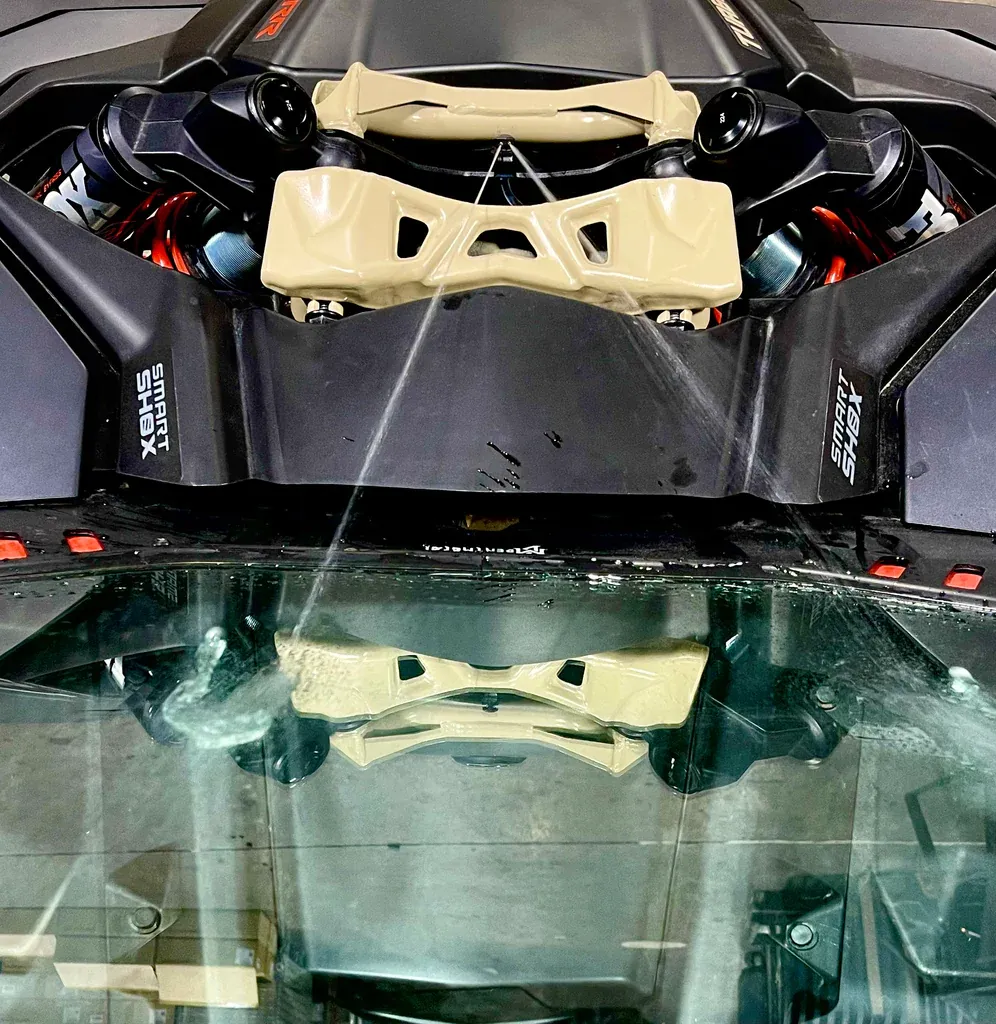
$425 - Bentmetal Electric Wiper Kit
Having a windshield is nice, but a windshiel with an electric wiper is even nicer. Most side by sides have hand crank wipers for peasants.
$425 - Bentmetal Rear Glass Windshield
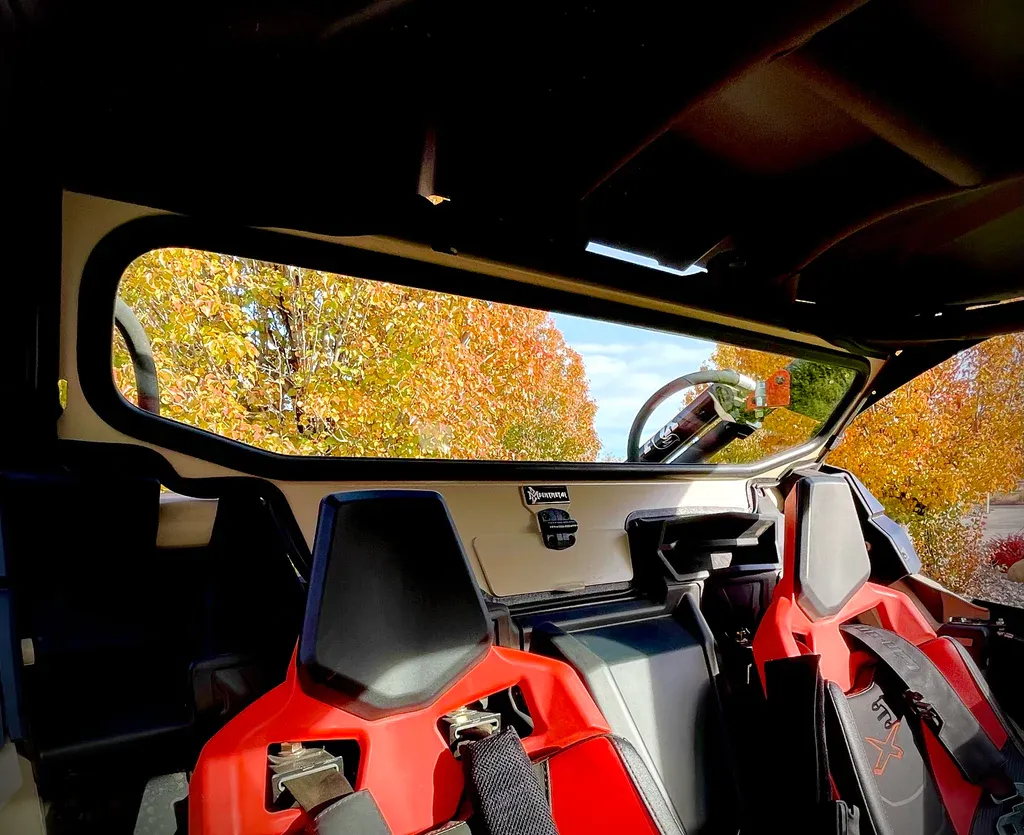
$775 - Bentmetal Vented Glass Windshield w/ D.O.T Stamp
$875 - 5 Tusk Uinta Beadlock Wheels
Since I decided on new and larger tires and going with 15" wheels instead of the stock 14" I had to pick up 5 of these. Being beadlock, you can run much lower air pressure without risk of your tires bead coming loose.

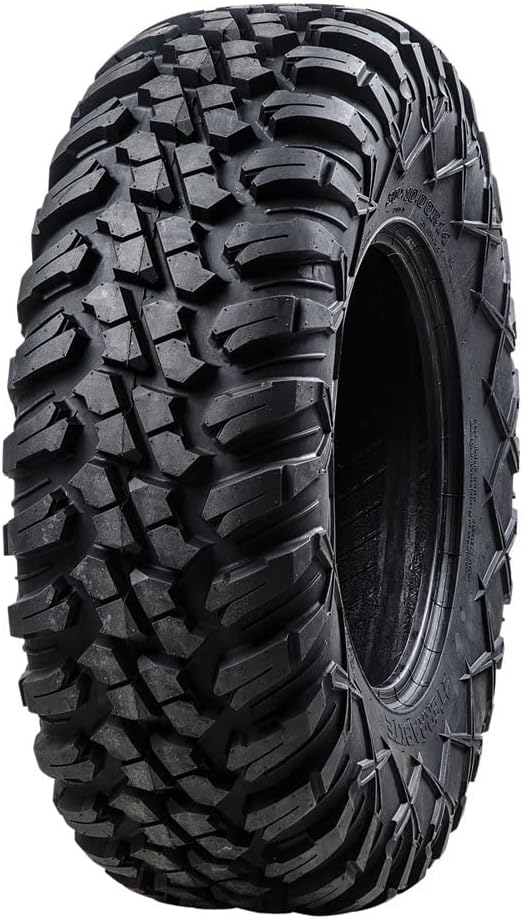
$1,000 - 5 Tusk Terrabite Radial Tires
Size 32x10-15, These are 2" larger than the stock tires as well. The stock tires are super aggressive dirt tires which wear down very fast on pavement. These, while not as good on dirt are a better balance and won't wear down as fast when I'm on pavement. 5 because I need 1 as a spare tire.
Comments